How to Untangle Filament Without Losing the Free End
Find a filament crossover, loosen it with the free end under control, rewind loose turns and secure the tip before checking the feeding path.

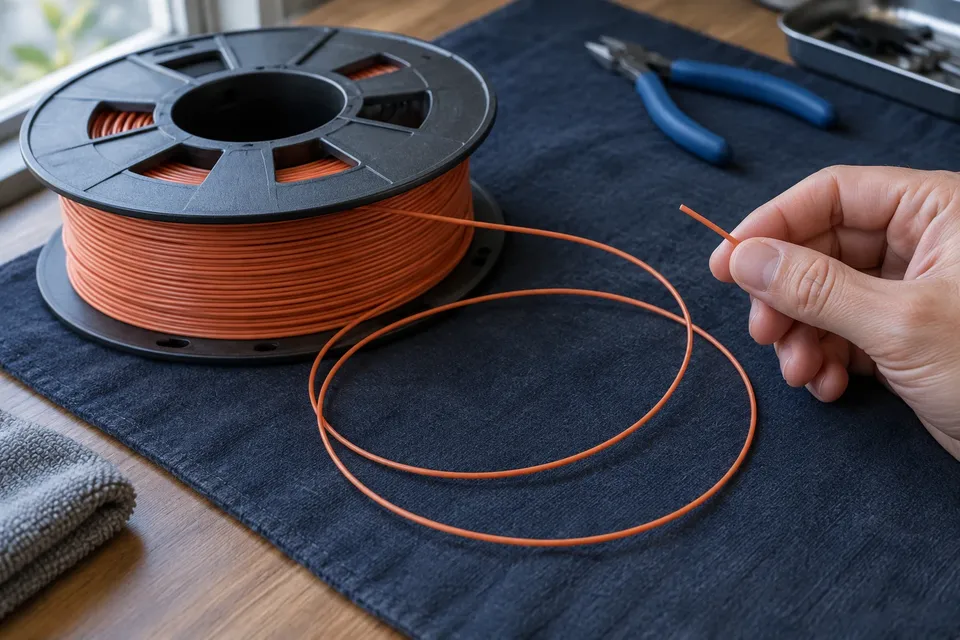
The first job when untangling filament is to keep hold of its free end. A loose tip can slip beneath another turn while you are trying to fix the first snag. Pause the printer using its normal procedure, make the spool accessible, and work on the winding where you can see it.
Do not keep the extruder pulling against a suspected tangle while you handle the spool. Depending on the machine, getting a usable free end may require its unloading procedure. That can involve a heated hotend, so follow the printer’s steps rather than pulling filament backward through a cold extruder.
Check whether the snag is actually on the spool
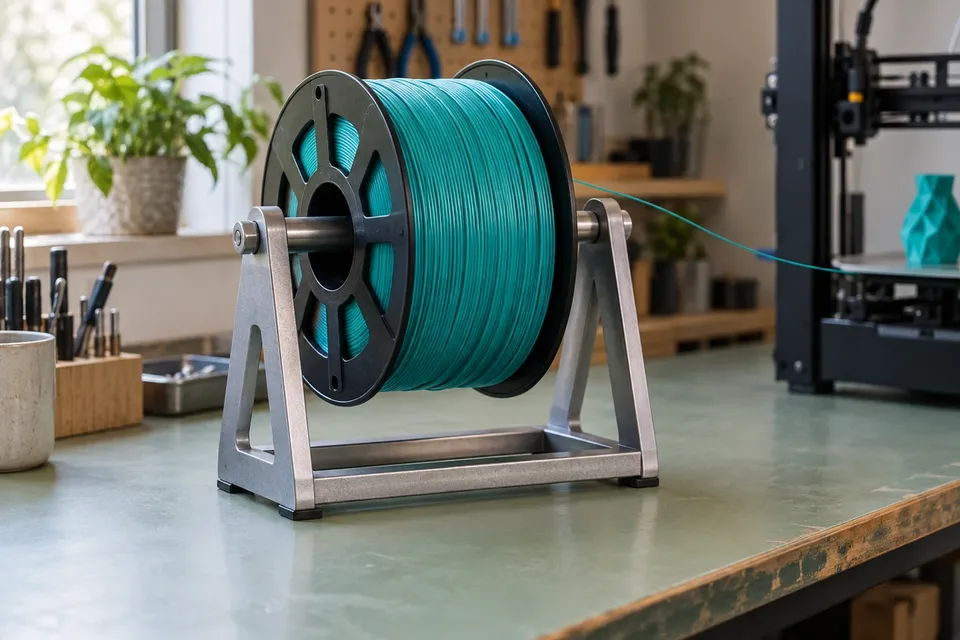
A tight strand does not by itself prove a tangle. With the printer stopped and the path accessible, look for the point that is preventing movement. Is a strand trapped under another winding? Is the spool rim rubbing the holder? Has the filament caught in a flange notch or been routed around an obstruction?
If the spool turns normally until one visible crossing tightens, the winding is a sensible place to work. If the rim catches at the same point on each revolution without a trapped strand, inspect the holder and flange. The spool-holder comparison explains where those two support styles contact the spool.
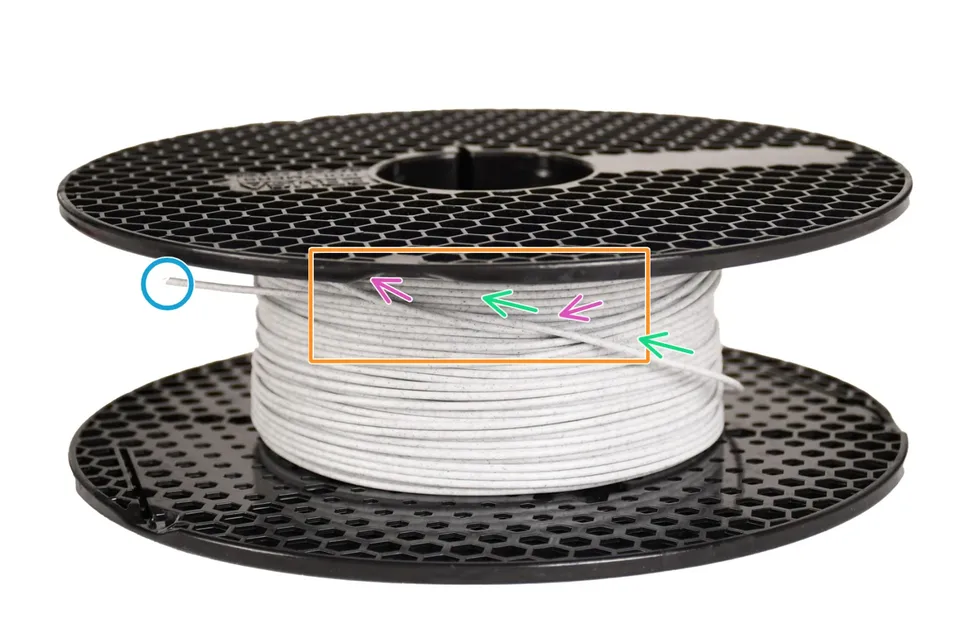
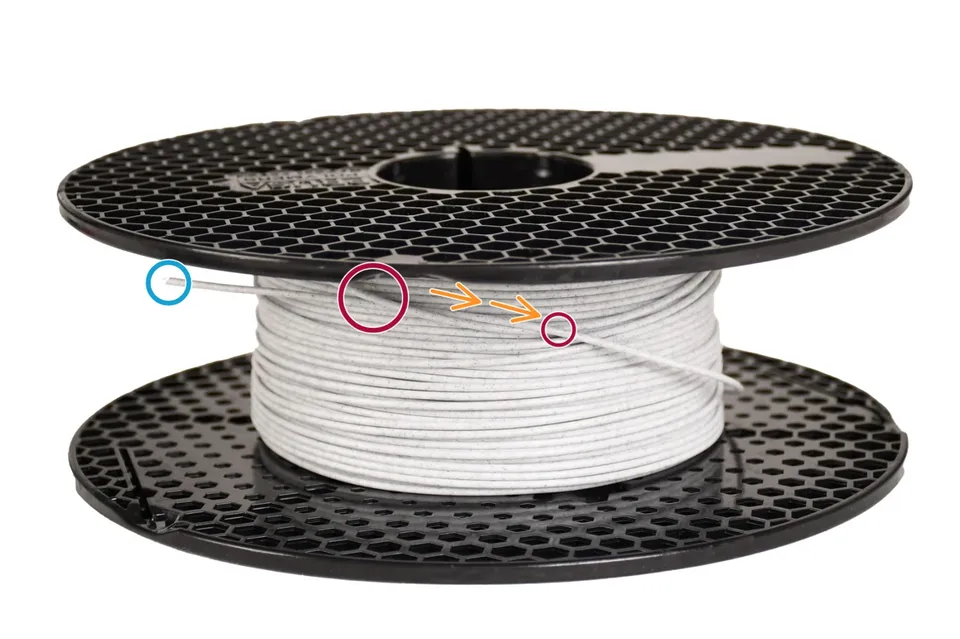
The annotated example in Prusa’s tangled-filament guide highlights a strand passing beneath another turn. Its key handling advice is to retain the tip throughout untangling and rewinding. An untidy-looking spool is not enough to diagnose that crossing; follow the actual strand.
1. Take control of the tip and the loose turns
Place the accessible spool on a clear work surface. Hold the free end in one hand and stabilize the spool with the other. Keep the end visible outside the winding. If several turns are already loose, gather them into a manageable group instead of allowing them to fall around the spool or onto the floor.
Give yourself enough space to move that group without pulling it taut. The aim is to expose the trapped strand, not to stretch or sharply bend it. Keep loose loops away from a powered printer and its moving parts while you work.
2. Loosen the crossing where it occurs
Trace the held strand back toward the spool. At the crossing, reduce the tension and gently separate the trapped strand from the turn above it. Open only the turns needed to see and release that location. Pulling harder on the tip can tighten the crossing and make the route less obvious.
Watch the free end as the crossing opens. It should remain outside the winding rather than being passed underneath a neighboring turn again. If you lose sight of the path, stop pulling and reposition the loose turns until you can follow it.
A tight bend or damaged segment deserves a separate decision. Do not hide a damaged section under fresh turns and expect the feeder to solve it. Follow the filament and printer guidance for removing an unusable end, then secure the new tip before changing your grip.
If the crossing is difficult to expose, colorFabb’s illustrated untangling procedure shows a separate method for bringing the affected turns over the flange. Follow that sequence as a whole rather than improvising a forceful pull through the remaining winding.
3. Rewind the slack while keeping the end outside
Once the crossing is free, turn the spool slowly and guide the loose filament back onto it. Use light control to keep the turns gathered; do not pull hard enough to stretch the filament or force a kink. Work in small amounts so that the group does not spill over a flange.
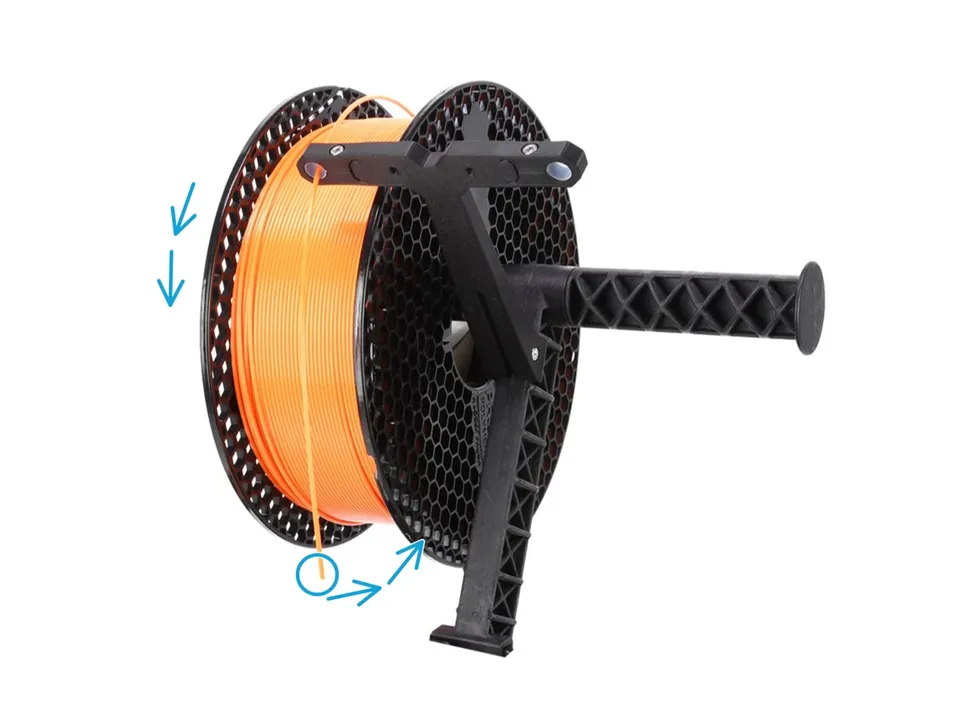
Prusa’s rewinding illustration shows the loose coil being guided while the spool turns. Your spool does not need to look cosmetically perfect afterward. It needs an untrapped feed strand and enough control that the loose turns cannot slide across the rim and make another snag.
If the top turns remain loose, keep the tip held and settle those turns before mounting the spool. A fresh holder will not correct winding that is still free to fall over its flange. Nor does a single localized crossing automatically call for transferring the entire spool to another reel.
4. Secure the tip before putting the spool down
Use a suitable flange hole or filament clip to retain the end. Check that the holder grips the tip without a sharp bend and that the tip cannot spring back into the winding when you release your fingers.
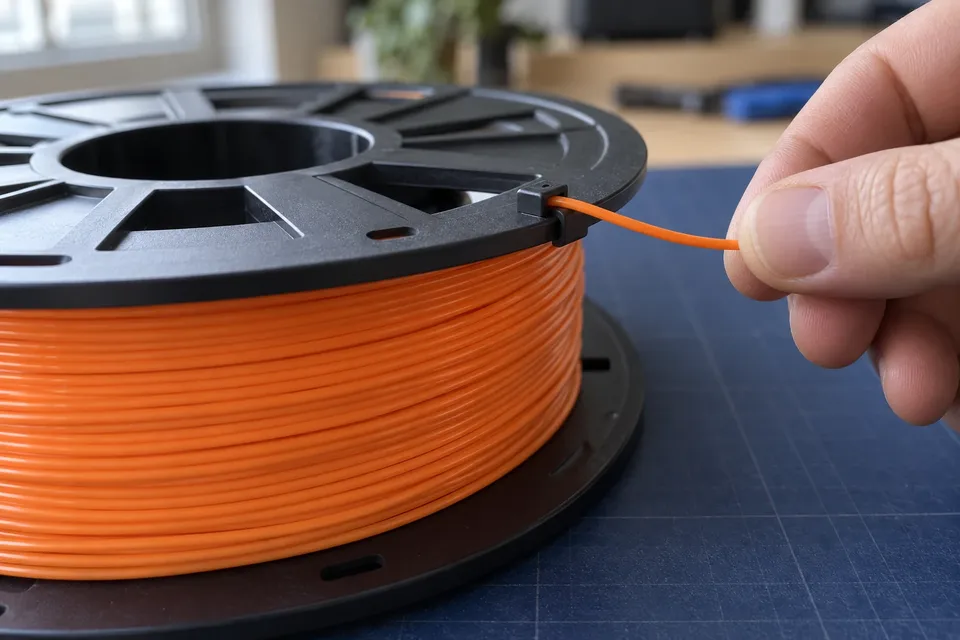
This handoff is easy to miss during an unloading or storage change: hold the tip, secure it, then let go. The filament storage checklist includes end retention alongside keeping the spool protected.
Restore the path, then observe it
Remount the spool in its intended direction and restore the printer’s normal feeding path. Remove any temporary retaining clip from the active strand before loading. Confirm that the filament does not take a shortcut across a flange, around a handle or through an unintended opening.
When printing from a storage box, also inspect the outlet and tube route. The dry-box feeding guide covers those path checks; a free spool can still encounter resistance farther along.
Run the normal loading operation and watch a short period of feeding from a safe position. Look for smooth spool movement and an unobstructed strand. If tension returns, pause and locate the resistance again instead of assuming the same crossing has come back. Keeping control of the tip prevents a common handling error, while checking the full path keeps a different fault from being mistaken for another tangle.
Our standard: Clear sources, practical limits, and no invented test results. Read our editorial policy.
Evan Carter
Evan covers the fundamentals of desktop 3D printing, from first-time setup and calibration to common print failures and everyday maintenance.