Printing from a Dry Box Without Fighting the Feed Path
Set up a dry-box feed path, check spool rotation and PTFE routing, and isolate added resistance before changing your printer or slicer settings.
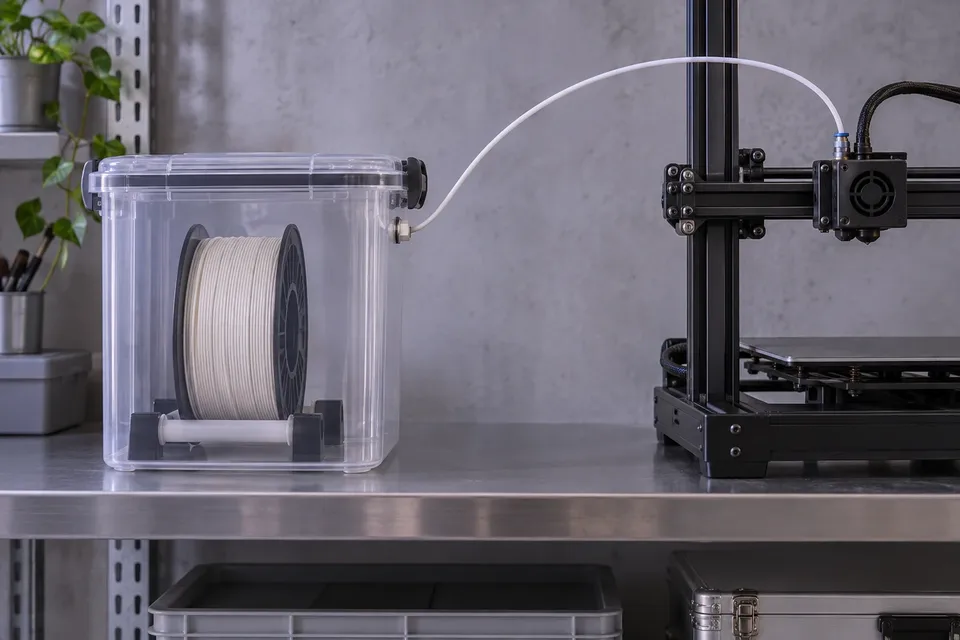
The first print after adding a dry box should not require a new set of slicer settings. Start by checking what changed outside the printer: the reel supports, the outlet, the guide tube and the approach to the filament inlet.
A useful feed path lets the spool turn without rubbing, guides filament through smooth bends and stays relaxed through the printer’s normal movement. A low humidity reading does not tell you whether that path is working.
Follow the printer’s intended loading route
Identify the inlet used for an external spool on your printer. Some arrangements feed a fixed point on the frame; others route a tube toward a moving assembly. A multi-material system may add its own buffer, sensors and loading sequence. Keep those requirements intact.
A dry box does not make an unsupported external route compatible with an automated feeder. Use the printer’s instructions for the selected mode, especially where loading and unloading move filament in both directions. Do not bypass a sensor or remove a buffer to make a convenient tube route work.
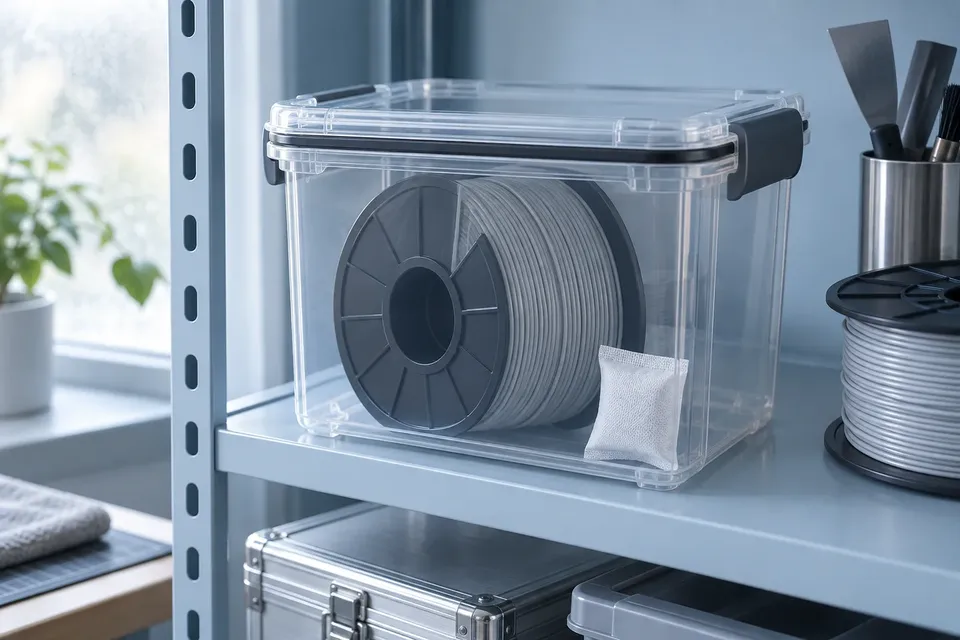
Also distinguish a storage box from an active dryer. A dry box mainly protects prepared material during use; it does not supply a missing drying cycle. The drying-versus-storage decision belongs before loading, so troubleshooting the feed path does not become a substitute for preparing the filament.
1. Let the reel turn on the intended supports
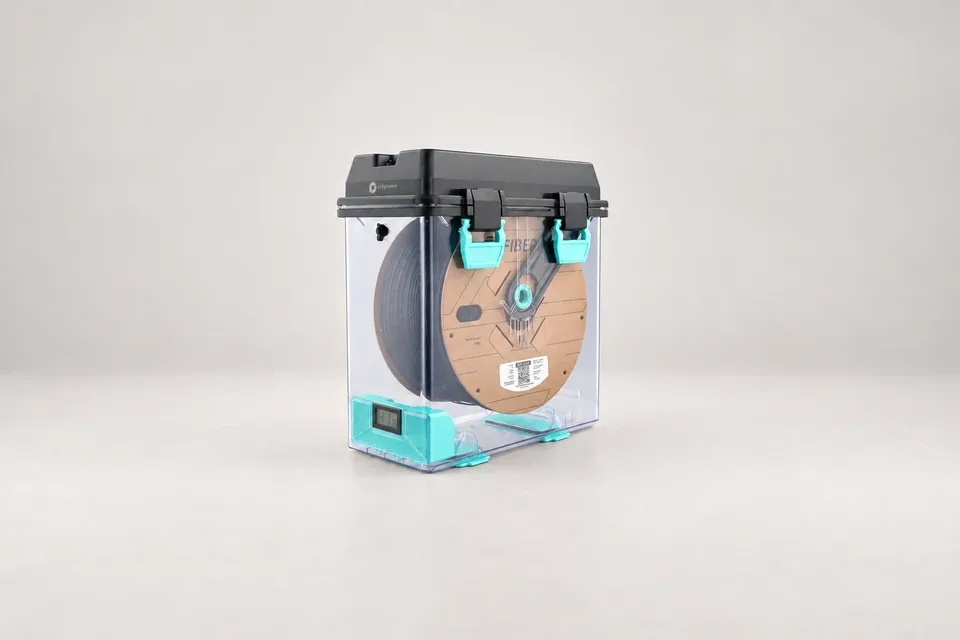
Place the box on a stable surface and load the reel as its manufacturer directs. Check the contact points: a rim on rollers behaves differently from a hub on a shaft. Inspect a bent flange, protruding adapter or rough cardboard edge where it actually meets the support.
With filament disconnected from the printer, gently draw some through the outlet. Watch the reel over a rotation rather than checking only its starting position. Look for a recurring catch, side-to-side movement or a flange touching the wall. Keep control of the free end so it cannot slip under a winding.
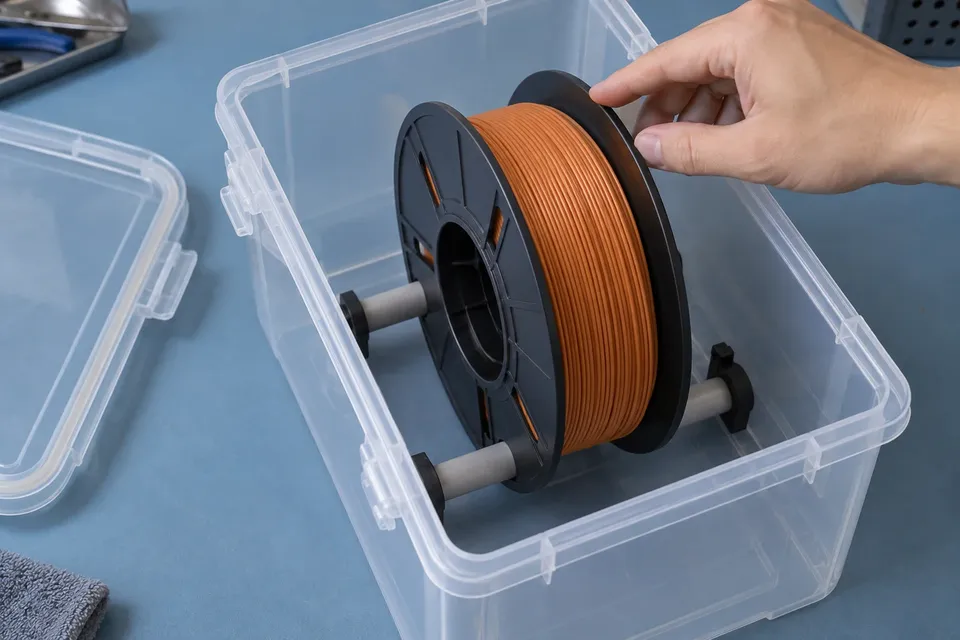
Close the lid and repeat the check. A roll that turns freely in an open container may rub after the lid, tube or an internal part returns to its operating position. Do not force the closure to make a large reel fit; check the complete reel dimensions before changing the supports.
2. Route a broad curve and secure the tube ends
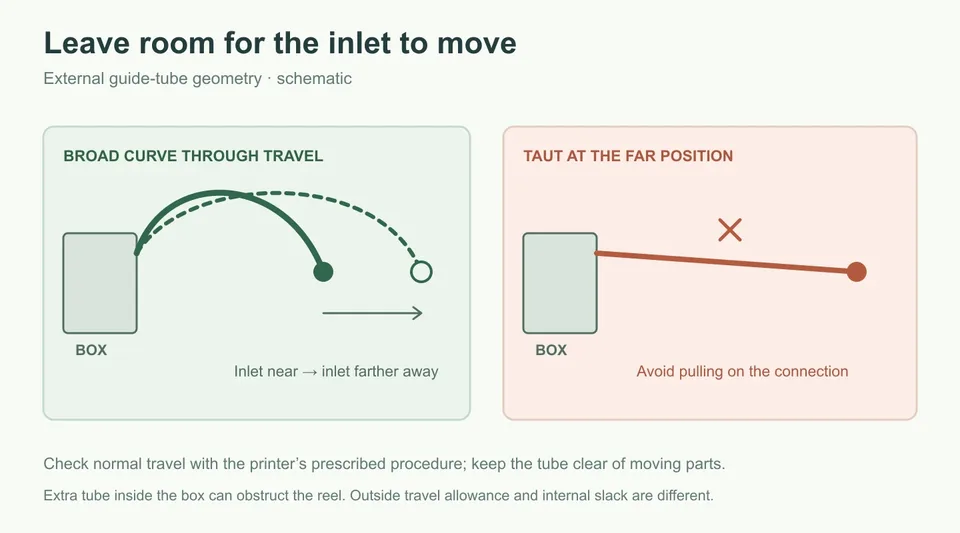
Position the box so the strand approaches its outlet without rubbing an edge or crossing a flange. Outside the box, aim for a direct route with gentle curves. “Shortest possible” is not the goal if it leaves the tube taut at the printer’s farthest normal position.
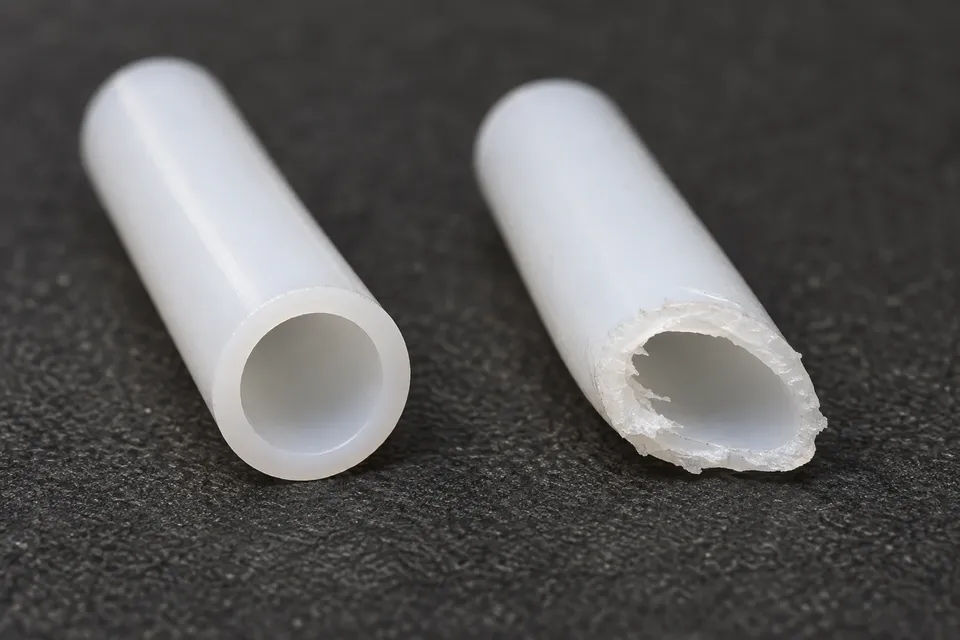
Use the tube and fittings specified for the equipment. For example, Prusa’s USS Drybox instructions warn that excess tube inside the box can stop the spool, and that crushed tube cuts can increase friction. These are two different problems: internal intrusion needs restraint at the box; travel outside needs enough room for motion.
A tube end should be clean and unobstructed. Seat it according to the fitting’s instructions, then make a light retention check without pulling on the printer. A fitting that lets the tube creep into the box needs attention before a print.
Keep the route clear of belts, fans, hot surfaces and the build area. For a moving inlet, use the printer’s normal controls and prescribed setup procedure to check its range of motion; avoid reaching into an operating machine. Watch for a bend tightening or the box beginning to move as the inlet travels.
3. Isolate resistance before touching extrusion settings
Use a simple sequence with the printer unloaded according to its manual. The purpose is to compare the path as sections are added, not to measure force by hand or pull filament through a cold hotend.
- Box and reel: draw filament through the box outlet with the external tube disconnected where the design permits. Resistance here points to the winding, supports, wall contact or outlet.
- Add the guide tube: pass the free strand through the tube before engaging the printer’s drive. A newly obvious catch suggests a tight bend, damaged end, unsuitable connection or obstruction in that section.
- Reconnect the printer: use its normal loading procedure. Observe the inlet, fittings and tube as loading proceeds. Stop and unload as instructed if the reel snags or the box shifts.
Do not tighten drive gears or increase extrusion temperature simply because the new box adds drag. Those adjustments can obscure the original change. Flexible filament particularly deserves the printer’s supported route and loading guidance, rather than an improvised long external path.
What the symptom tells you to inspect
A click or catch once per reel turn: watch the flange and hub for repeating contact. A damaged edge or off-centre support may reveal itself at one position.
Feeding changes when the toolhead moves: inspect the tube arc at that position. The route may tighten, touch the frame or pull sideways at an inlet.
Feeding worsens only after closing the box: reopen it after stopping the printer and check what moved. Lid contact, a trapped strand or tube pushed inward is more relevant than the slicer profile.
The problem remains without the new box: widen the investigation. Extruder clicking, poor layers and stringing have more than one cause. Compare with the printer’s previously working external-spool arrangement using the same material and settings, where its manual supports doing so. A symptom that persists is not evidence against the dry box alone.
Use a short, observed print as the handoff
Choose a familiar small print and keep the known working profile. Observe loading and initial printing, then inspect the route through the movements the job actually uses. One successful test is a useful check of this arrangement, not a guarantee for every reel or material.
After unloading, secure the filament end and close the unused outlet as the box instructions require. Return the spool to your normal storage routine. Leave the box and tube positioned so the next load reproduces the path you just checked; otherwise the next print starts with a different experiment.
Our standard: Clear sources, practical limits, and no invented test results. Read our editorial policy.
PrintTuned Editorial
Source-based guides to filament drying, storage and spool fit, with clear measurements, documented assumptions and practical limits.