Does Your Cardboard Spool Need an Adapter Ring?
Find out what cardboard spool adapter rings can fix, how they change reel dimensions, and which fit checks matter before loading a feeder.
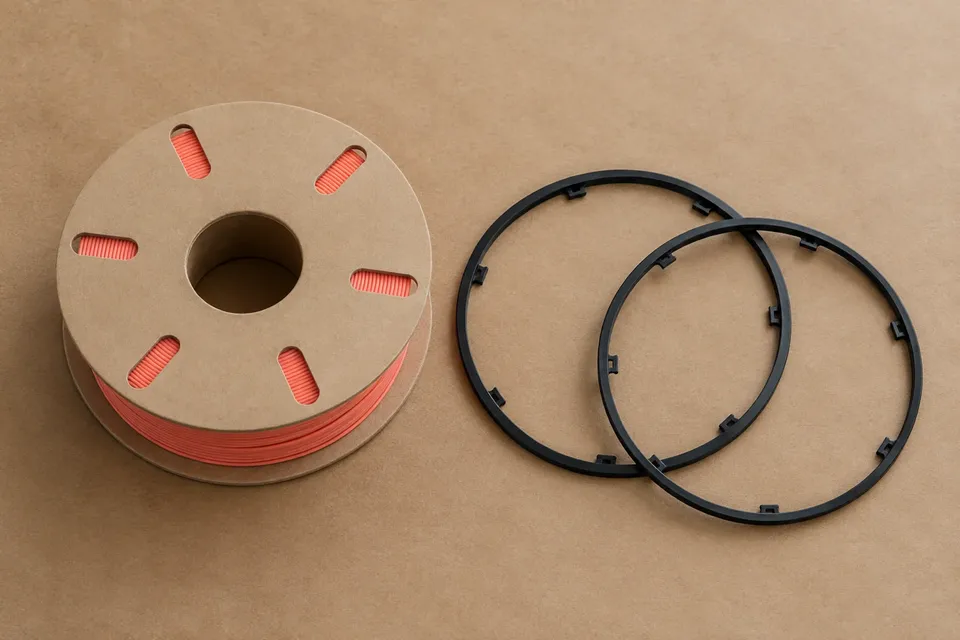
A cardboard spool does not automatically need a plastic ring. Some reels already have reinforced edges; others run on a centre shaft that does not use the rim as a rolling surface. The decision starts with the spool design and the feeder’s instructions, not the word “cardboard” on the box.
An adapter ring can provide a firmer rolling edge. It also adds material around the reel, so solving an edge problem can create a clearance problem. Treat the ring, spool and feeder as a combination that needs to work together.
Identify the problem the ring would solve
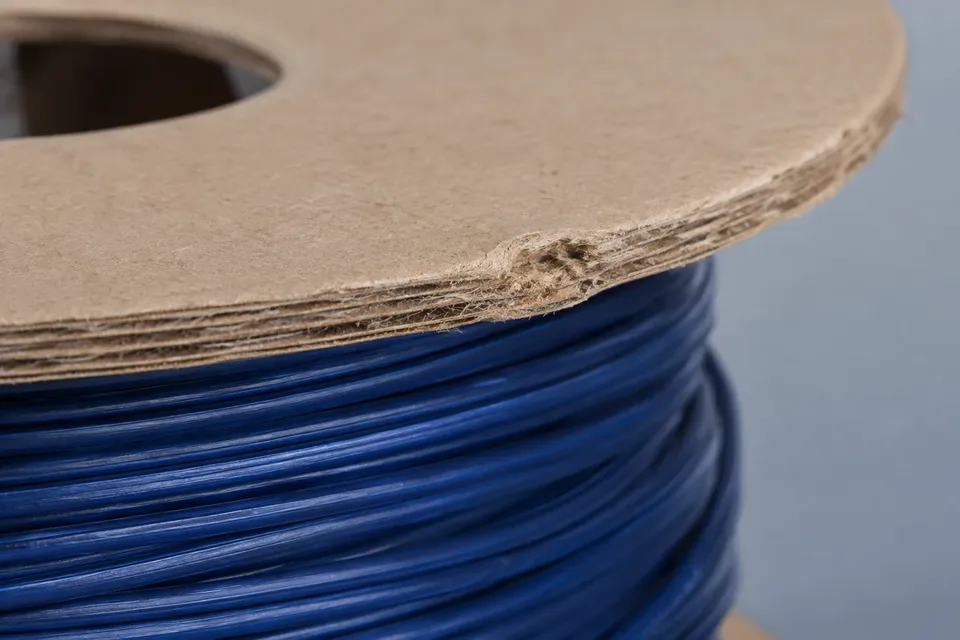
Look at where the feeder touches the spool. In a rim-driven arrangement, the flange edge participates in moving the reel. A dent, loose paper fibre or distorted circle can interrupt that contact. On a centre-supported holder, the same rim defect may never touch the support at all.
Polymaker’s original cardboard adapter design uses edge clips and a locating pin to keep a rigid rolling surface attached to the spool. Those features explain its purpose: supporting the rim and resisting movement between ring and reel. They do not establish that any ring fits every cardboard spool.
Before printing an accessory, check the spool generation. Polymaker also describes newer cardboard spools with hardened or sealed edges. A solution designed for an older soft edge may be unnecessary for a newer reel. The feeder manufacturer’s requirements still apply.
“Fits the spool” is only half the fit check
A ring that clips on securely must also fit inside the equipment. Its outside edge changes the effective diameter, and side clips may increase the overall width. Measure the finished assembly at its widest points; do not rely on the bare-spool dimensions after adding parts.
For a simple example, a ring that projects 1.5 mm beyond the rim all the way around adds 3 mm to the diameter. A 200 mm reel would become 203 mm at that edge. This is geometry, not a statement of any feeder’s supported range. Compare the resulting assembly with the limits for your exact model.
The same caution applies to names that sound related. AMS, AMS lite, AMS 2 Pro and AMS HT are different products. An accessory description mentioning one does not prove compatibility with the others. Record the feeder model, spool model or generation, and ring version together.
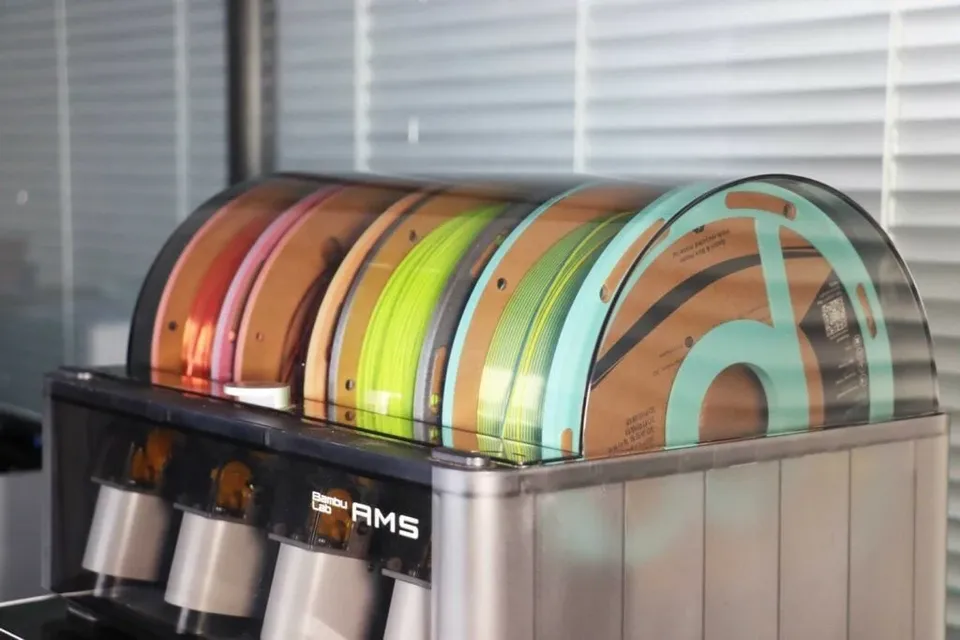
Use the spool measurement procedure when the seller provides only a nominal weight. Check diameter, width, hub projections and the features used to locate the reel. Allow the intended lid to close normally; leaving it propped open is not proof of an acceptable closed configuration.
A practical decision for four common cases
- The reel already loads reliably and its edges meet the feeder instructions: leave the working arrangement alone. Adding a ring introduces another fit variable without resolving a visible problem.
- A soft rim is wearing on its support: inspect a ring designed for that spool and feeder combination. Confirm both the installed dimensions and how it locks to the flange.
- The cardboard flange is badly warped or separating: a ring is not a reliable repair for structural damage. Follow the filament supplier’s supported transfer or replacement procedure instead of forcing the spool into service.
- The feeder rejects the filament type: a rim accessory does not change the material’s feeding requirements. Follow the machine’s material compatibility guidance.
The first case is easy to overlook. Accessory lists tend to start with things to print, but an intact, supported spool that already behaves correctly may need no alteration.
Inspect the printed ring before loading it
Use the designer’s intended file, settings and material guidance. A partial clip, warped ring or rough support scar can create a new high spot. Dry-fit the accessory on a stationary reel while keeping the free end secured. The clips should sit as designed without crushing or peeling the cardboard.
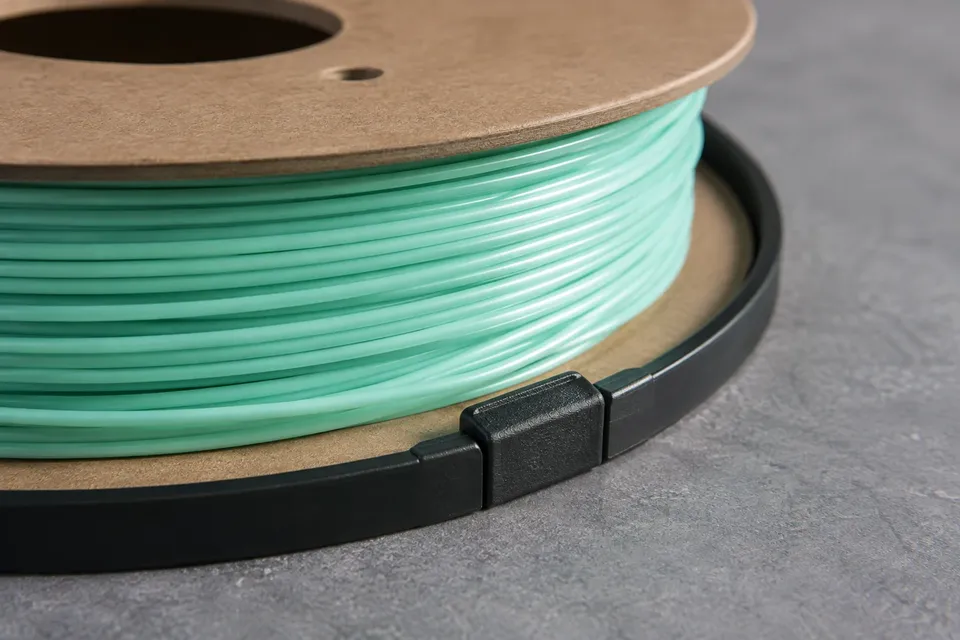
Walk around the circumference with your eyes. Look for a lifted section, a split, a flange caught outside a clip or a ring that slips independently of the spool. Check both faces; a good fit on the near side can hide a projection on the far side.
Polymaker’s removal instructions call for releasing the locating pin before the edge clips on its original design. Follow the sequence for the actual model you printed. Prying a different design by the same point can break it, and damaged retention features should not go back into the feeder.
Judge it through loading and unloading
Place the assembled reel into the equipment using its normal procedure. Watch an initial load and unload with the cover and supports in their operating positions. Stop at repeated rubbing, slipping or a feeder error; do not keep retrying to wear the assembly into place.
For an open external holder, the choice of rim support or centre support may remove the reason for a ring altogether. For an automatic feeder, keep its specified sensing and rewind arrangements intact.
Save the successful ring file version alongside the spool type. A later carton with the same filament name can contain a revised reel. At the next change, inspect that physical spool again instead of treating yesterday’s fit as a permanent brand-wide guarantee.
Our standard: Clear sources, practical limits, and no invented test results. Read our editorial policy.
Maya Reynolds
Maya evaluates 3D printers and hardware through repeatable setup, print-quality, speed, reliability, noise, and usability tests.