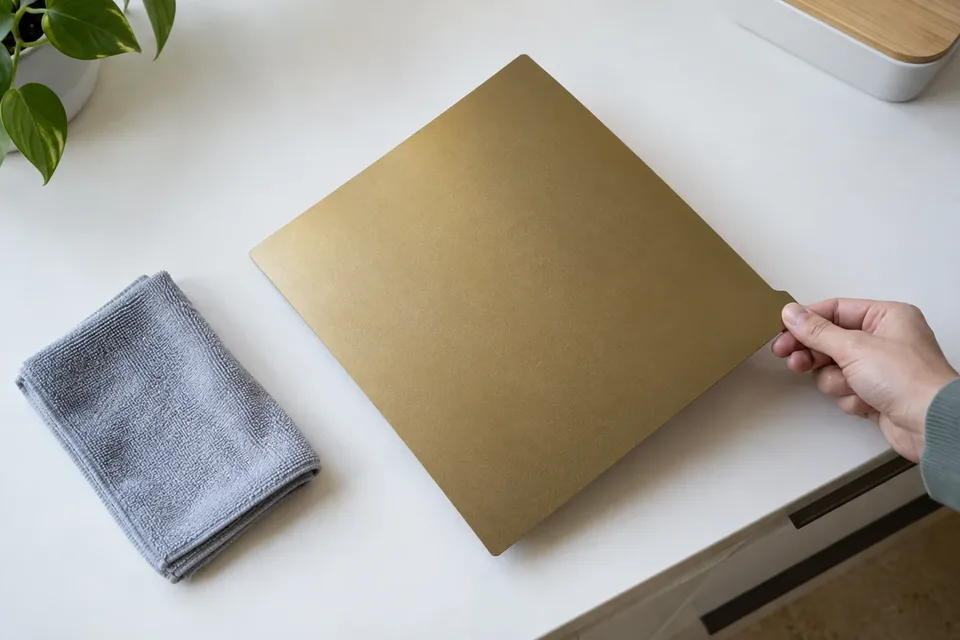
Smooth vs Textured PEI: Choose for the Part You Print
Choose smooth, textured or satin PEI around material compatibility, underside finish, part footprint and release, with checks for your printer and plate.

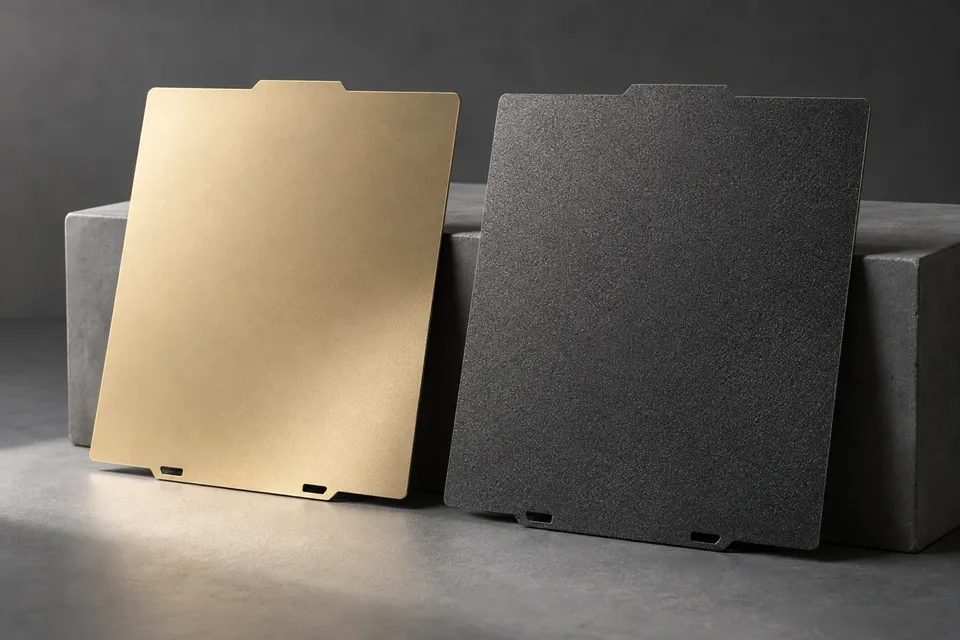
The bottom of a printed part is one surface the build plate helps finish for you. A smooth face can suit a flat display panel; a fine texture can make a utility enclosure look more uniform. That cosmetic choice matters, but it comes after confirming that the material and sheet are meant to work together.
Choose a PEI plate by material, part footprint and desired release behaviour, then choose the finish. “Textured” is not a universal upgrade, and “smooth” does not mean every polymer should be printed directly on it.
Begin with the face that will be visible
A plate transfers its surface character to the underside of the print. Smooth PEI generally leaves a smoother contact face; textured PEI leaves a stippled pattern. Neither makes the sidewalls smooth or hides a seam higher up the model.
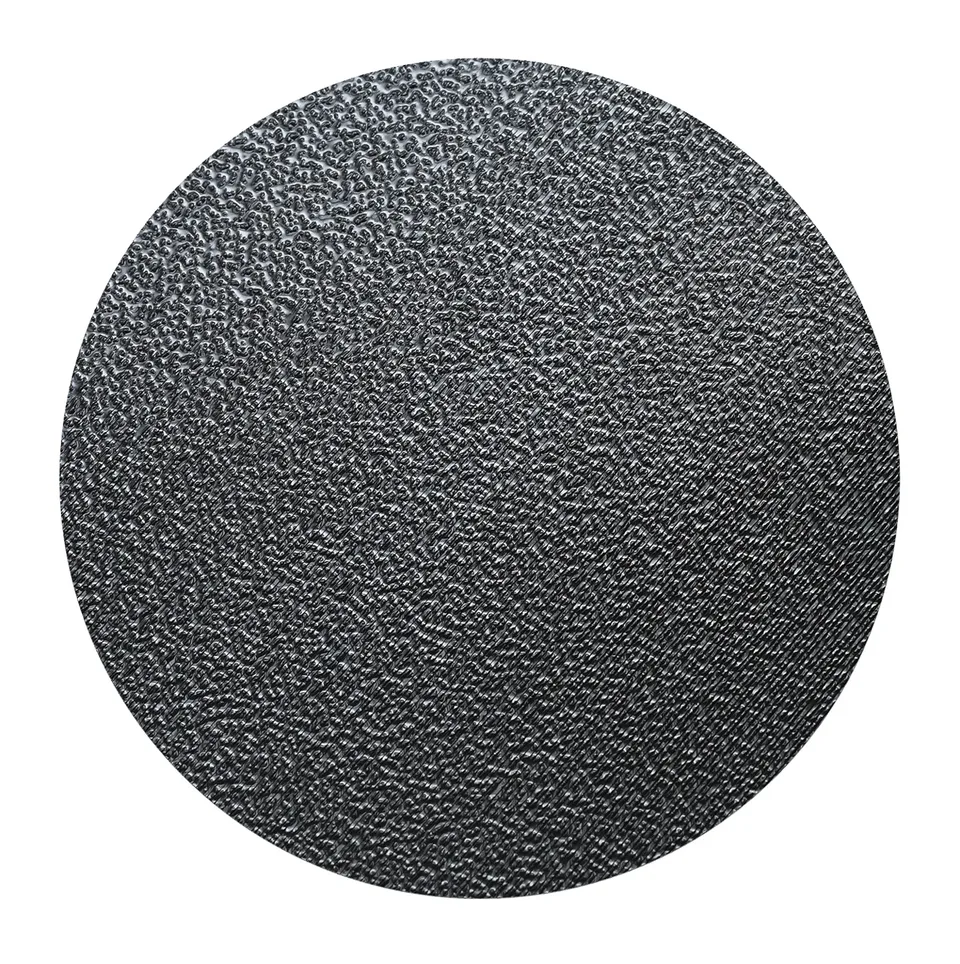
Think about the part’s final orientation. A bottom texture can be an advantage on a box lid that will be turned over after printing. The same finish may be unwanted on a mating surface, a sticker area or a part that should match an existing smooth component. Print a small representative piece before committing to a large batch.
Do not choose from a photograph of a different sheet alone. Texture scale and appearance can vary between products. A sample from the exact plate is more useful for a visible production surface than a generic “textured PEI” label.
Material compatibility is a separate decision
Prusa describes its smooth sheet as particularly useful for PLA and small contact areas. It also identifies materials that may need a protective separation layer. These are instructions for that sheet, not permission to put every PLA or PETG formulation onto every smooth-coated product without checking.
The manufacturer’s textured sheet is positioned for extensive PETG use and a rougher underside finish. A strong bond is only helpful while the print is running. The part still needs to detach without pulling the coating from the steel.
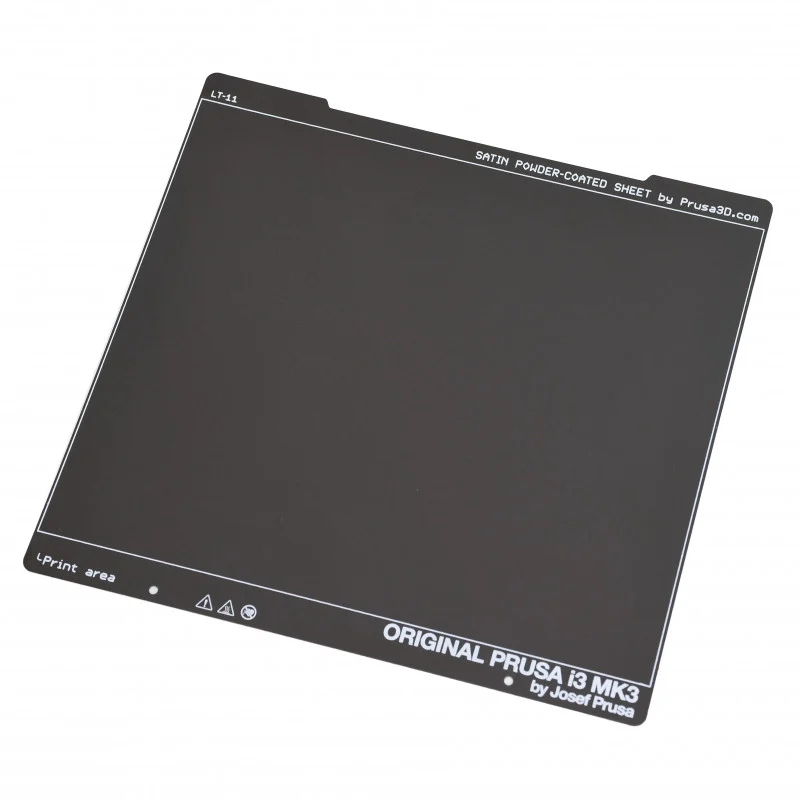
A third option can be more useful than forcing a two-way choice. Prusa’s satin sheet has a finer matte texture and supports both PLA and PETG under its published instructions. Other brands use their own coating names and preparation requirements; do not assume “satin” identifies one standardized formulation.
| Your priority | What to investigate |
|---|---|
| A smooth visible underside | A compatible smooth surface and any required release layer. |
| A consistent stippled underside | The actual texture on a sample from the candidate sheet. |
| Frequent PLA and PETG changes | A documented material chart for each side, including satin options. |
| Tiny feet or narrow corners | First-layer contact area and whether a brim is needed. |
For other polymers or filled blends, return to the specific material instructions. The comparison above is a way to organize a purchase, not a compatibility chart for all filaments.
A broad base and four tiny feet are different jobs
Two parts made from the same material can ask very different things of the first layer. A broad enclosure base spreads contact over a large area. Four small feet depend on much smaller patches staying attached while the rest of the object grows above them.
Before blaming the plate, look at the model’s actual contact footprint in the slicer. A decorative lower bevel may leave less contact than the top view suggests. Changing orientation or using an appropriate brim may address that geometry more directly than buying a new surface.
Keep any test relevant to the planned print. A wide square sticking well does not demonstrate that a tall, narrow component will behave the same way. Use a shortened version of the real base or another representative feature, while preserving the critical contact geometry.
The replacement must fit the printer, too
Match the exact printer model and the plate’s locating features, not just its nominal length and width. Inspect rear notches, front tabs, clearance around the bed and the manufacturer’s supported sensing or identification requirements. A plate that lies on the magnet is not automatically a supported replacement.
After a change, select the correct plate in the printer or slicer where required and follow the machine’s calibration procedure. Prusa’s steel-sheet guide explains sheet profiles and removal practices for its systems. Different printers handle sheet changes differently, so avoid copying a manual height adjustment onto a machine with another probing method.
Also inspect the underside before seating the sheet. A scrap of filament trapped below it is a physical obstruction regardless of which coating is on top.
Plan removal before the first large print
Follow the sheet maker’s cooling and removal instructions. Many flexible sheets are designed to release a cooled part with modest flexing; that does not justify bending a plate sharply or levering a bonded part off with a blade. Stop if the surface begins lifting with the print.
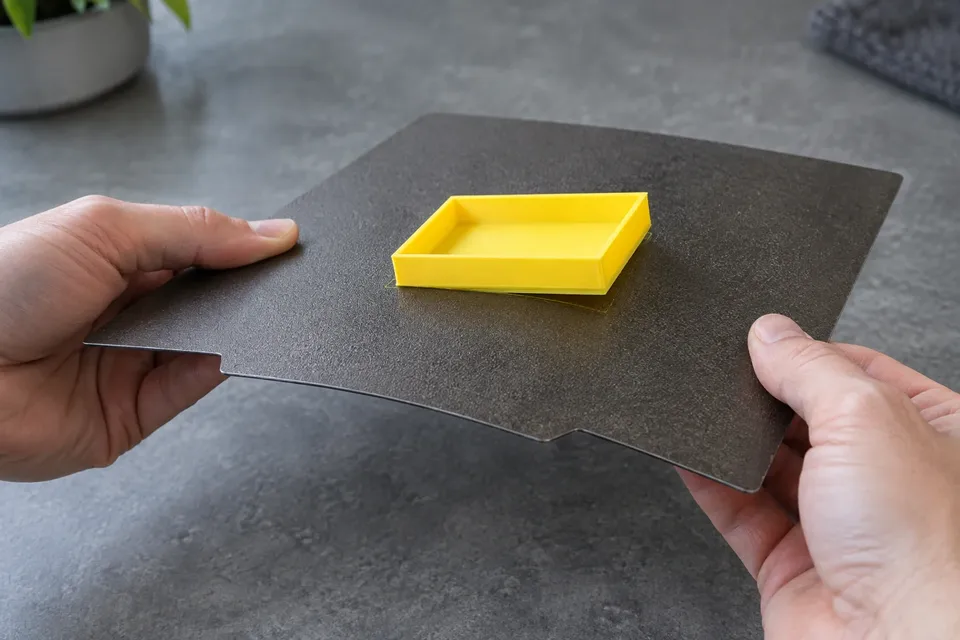
Adhesive can serve different purposes. For some combinations it helps initial adhesion; for others it is a separation layer that protects the sheet. Decide its role from the instructions, rather than adding or removing it based on the assumption that glue always means a weak surface.
Maintenance is part of the choice as well. Read the surface-specific cleaning routine before transferring an old solvent habit to a new coating.
For your first comparison, print the same useful part in the same material on each supported surface. Judge the underside, edge retention and removal together. A plate that gives the preferred finish and a predictable release is a better match than one that merely holds hardest.
Our standard: Clear sources, practical limits, and no invented test results. Read our editorial policy.
Sophie Kim
Sophie covers slicer settings, calibration, print profiles, supports, speed tuning, and the small adjustments that turn a working printer into a consistent one.