How to Clean a PEI Build Plate Without Damaging It
Clean a PEI build plate with a surface-specific routine, remove contamination without aggressive solvents, and separate cleaning problems from first-layer setup.
A print that suddenly lifts can make a stronger cleaner look tempting. Before reaching for one, identify the plate. “PEI” describes a surface material, but it does not give every smooth film, textured coating and specialty plate the same maintenance instructions.
The sensible routine is to cool the plate, remove loose residue, use the cleaner approved for that exact surface, and return it dry without touching the printing area. Escalate only when the plate maker describes the next method. Cleaning should remove contamination, not become an experiment in stripping the coating.
Read the plate, not just the printer name
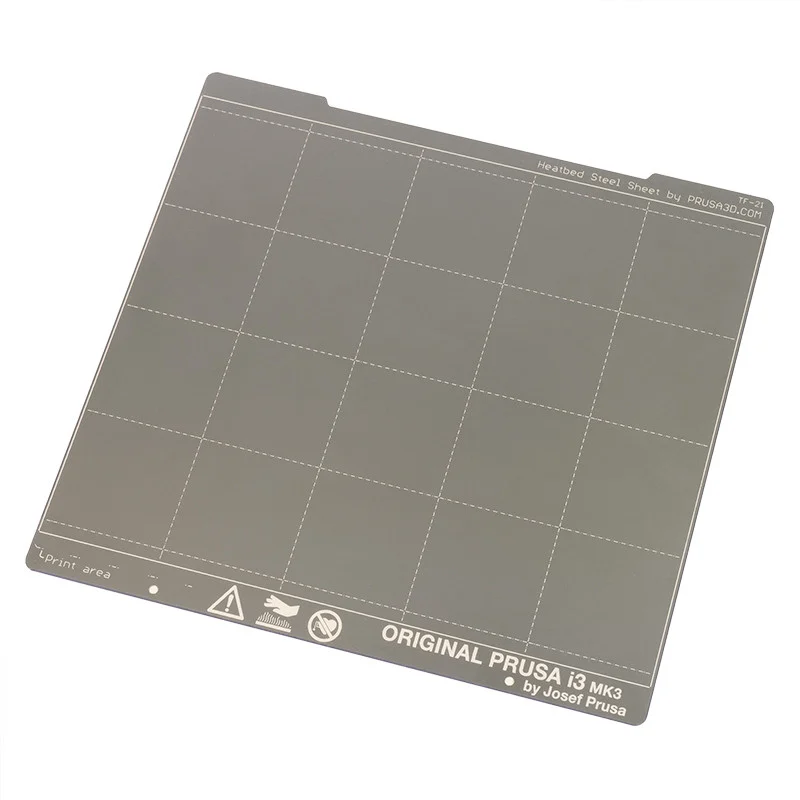
Check the product name, which side is facing up, and whether the surface has been replaced. A third-party sheet on a familiar printer still follows its own care instructions. Keep the plate’s support page or packaging details available; a seller listing that says only “PEI compatible” is not a solvent guide.
Prusa’s smooth-sheet instructions, for example, allow cold cleaning with approximately 90% isopropyl alcohol and describe occasional acetone use for that sheet. Its textured-sheet instructions explicitly prohibit acetone. Do not turn the smooth-sheet exception into a routine for every PEI surface.
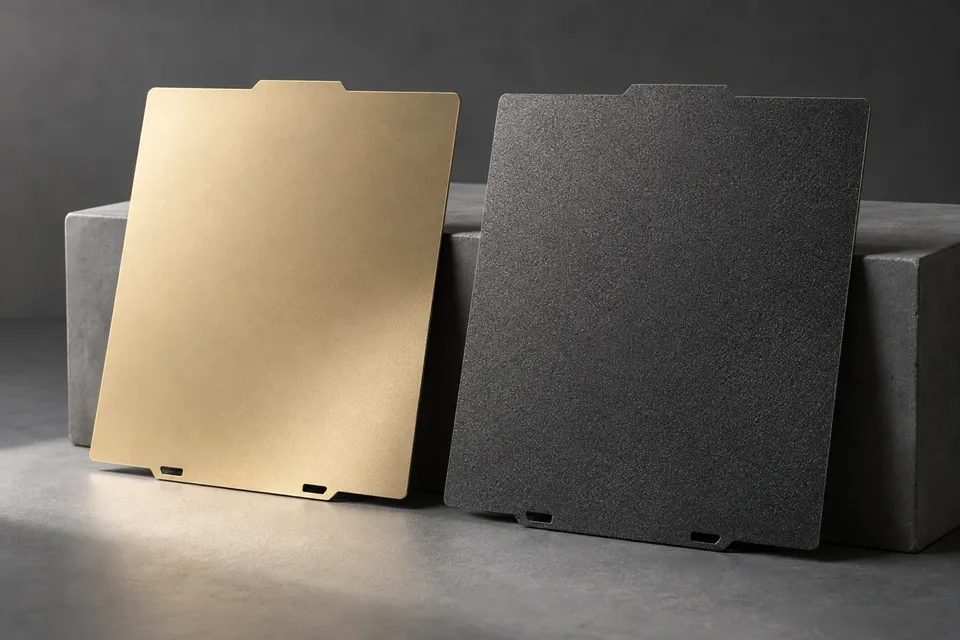
The surface comparison helps distinguish plate types, but identification should ultimately come from the manufacturer. Colour alone is not enough.
Set up a clean place to handle the sheet
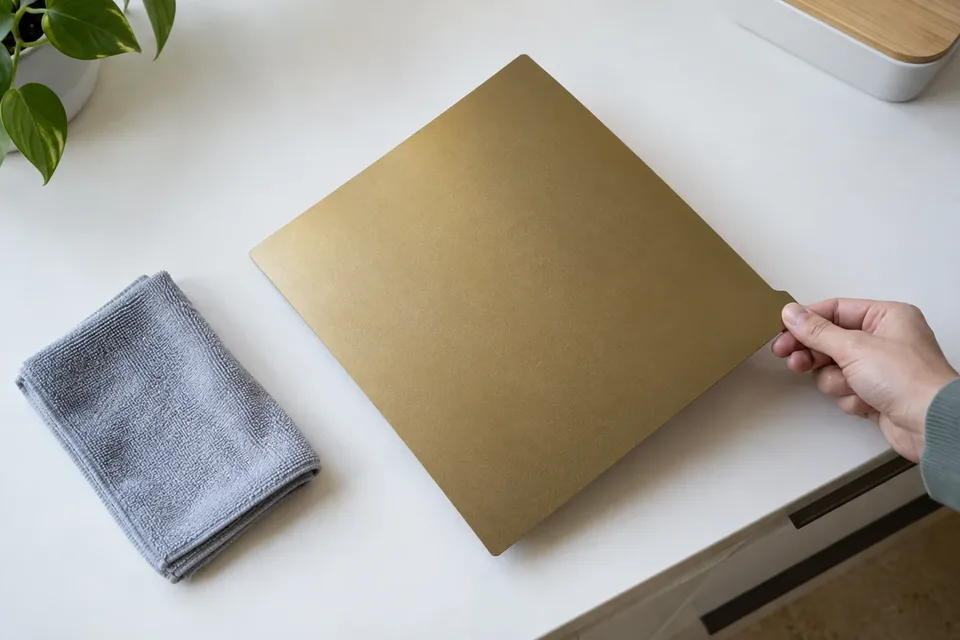
Let the printer and plate cool as directed. Remove a removable sheet using its tab or edges and place it on a clean, stable support. Keep cleaning liquids away from the printer’s electronics and heaters. Follow the cleaner’s handling and ventilation directions, and keep flammable cleaners away from ignition sources.
Remove loose filament fragments with the plate maker’s approved method. A fragment underneath the sheet can also prevent it from seating flat, so inspect the reverse face and the bed before reinstalling it. Do not scrape aggressively at a stubborn spot while the sheet rocks on debris.
Look across the surface under low side light. Note fingerprints, streaks, adhesive residue and damaged coating separately. Dirt can be removed; a gouge or peeling layer may need a different remedy. Repeatedly washing a mechanically damaged patch will not put the coating back.
Use a fresh wiping surface
For a plate whose instructions approve IPA, use the specified concentration and a clean wipe that does not shed fibres. Avoid products intended for skin care or cleaning furniture; added oils, fragrance or polish are not useful on a printing surface. Put the approved cleaner on the wipe as the instructions direct rather than spraying the machine.
Wipe the intended print area and turn to a clean section of the cloth or paper as needed. An old rag used for lubricating rails is the wrong tool, even when it looks dry. Keep a dedicated supply for plate care and replace a visibly dirty wipe rather than spreading the residue over a larger area.
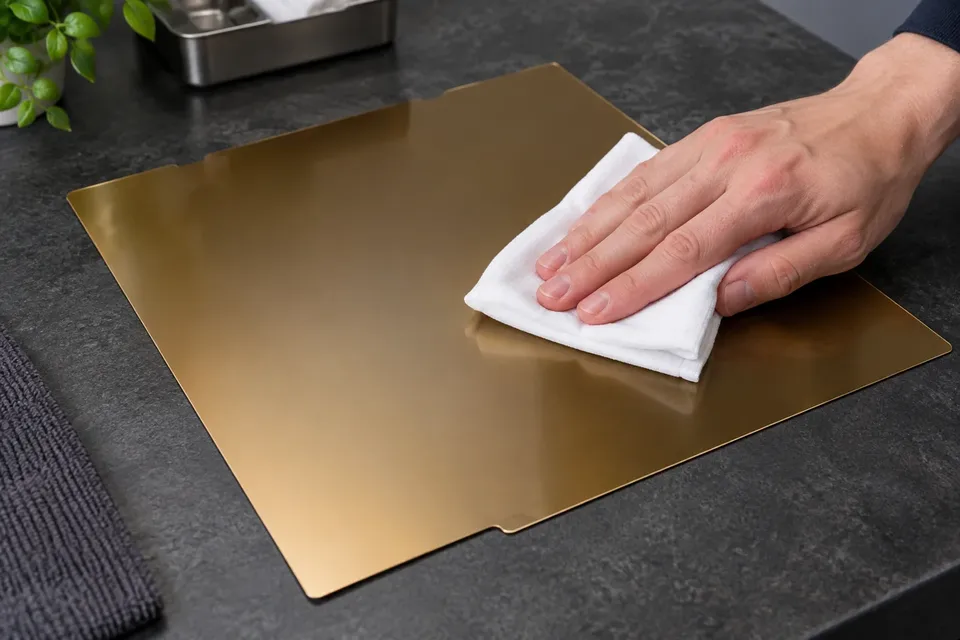
Allow the approved cleaner to evaporate fully before returning the sheet to service. Hold the edges during installation. A quick palm pressed into the centre to carry a newly cleaned plate can undo the work immediately.
Washing is a conditional step, not a universal schedule
Some plate instructions permit water and dish detergent when routine wiping is insufficient. Others limit washing or describe special care for the coating and steel underneath. Prusa, for instance, treats washing its textured sheet as an occasional last resort rather than a frequent soak.
Where your plate maker permits washing, use its stated water temperature and detergent type. Work with the sheet away from the printer, remove detergent thoroughly, and dry both faces and the edges promptly. Do not leave the sheet submerged or put a wet plate on the machine as a shortcut to drying it.
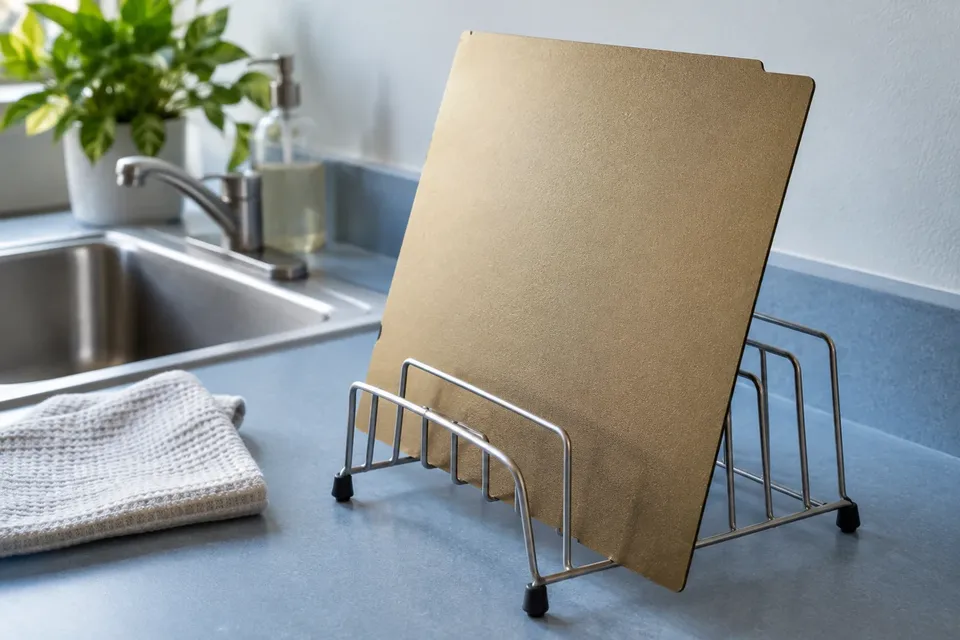
Prusa’s satin-sheet guidance also warns against leaving the sheet wet. A clean-looking face does not tell you whether moisture remains around an edge or on the underside. Finish the handling routine before reinstalling the sheet.
A clean plate can still produce a poor first layer
After cleaning, run a small familiar print with the correct plate selection and the printer’s normal setup procedure. Keep the material and profile unchanged so the result tells you something about the cleaning step. Inspect the first layer rather than leaving a long job to reveal the problem hours later.
A line that is barely touching the surface calls for a first-layer setup check. A nozzle scraping the coating is also not a cleaning problem. Use the printer’s prescribed calibration method; automatic probing and manually adjusted systems do not use identical procedures.
Prusa’s first-layer troubleshooting separates surface preparation from other setup variables. Take that same disciplined approach: verify plate seating, profile, material and calibration instead of changing cleaner, temperature and nozzle height together.
Excessive adhesion is a different failure. Some material-and-sheet combinations call for a separation layer even on a clean surface. Do not remove a required release product simply because “cleaner is better”; consult the material and plate instructions together.
Make the next cleaning easier
Store the sheet where its print face will not collect workshop oil or abrasive debris, and avoid stacking it against loose tools. Use its edges during routine handling. For several plates, label their storage sleeves rather than adding tape to the printing area.
A brief note is more useful than an elaborate cleaning calendar: plate identity, approved cleaner, and the last symptom that prompted extra cleaning. Once the familiar first layer returns, stop escalating. There is no benefit in subjecting a working coating to a stronger treatment just because the bottle is nearby.
Our standard: Clear sources, practical limits, and no invented test results. Read our editorial policy.
Evan Carter
Evan covers the fundamentals of desktop 3D printing, from first-time setup and calibration to common print failures and everyday maintenance.