PETG Stuck to PEI? A Careful Print-Removal Guide
Remove a stubborn PETG print from PEI with controlled cooling and permitted sheet flexing. Recognize surface damage and prepare the next print correctly.
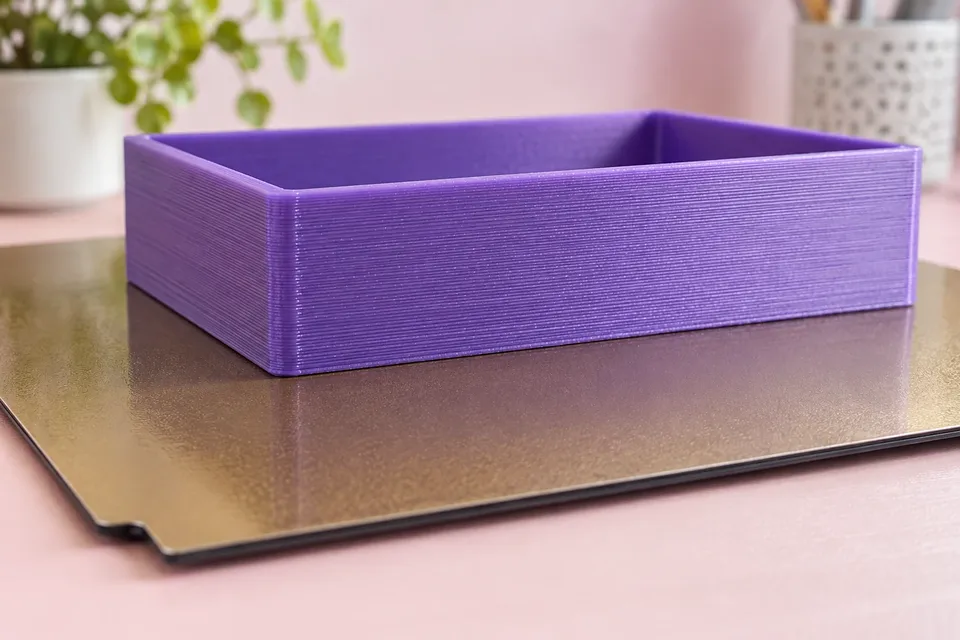
A PETG print that will not release from PEI needs a different response from one that will not stick. Let the sheet cool as its manufacturer directs, use only the removal method allowed for that sheet, and stop if the coating starts moving with the part. Increasing leverage can turn a stuck print into a damaged surface.
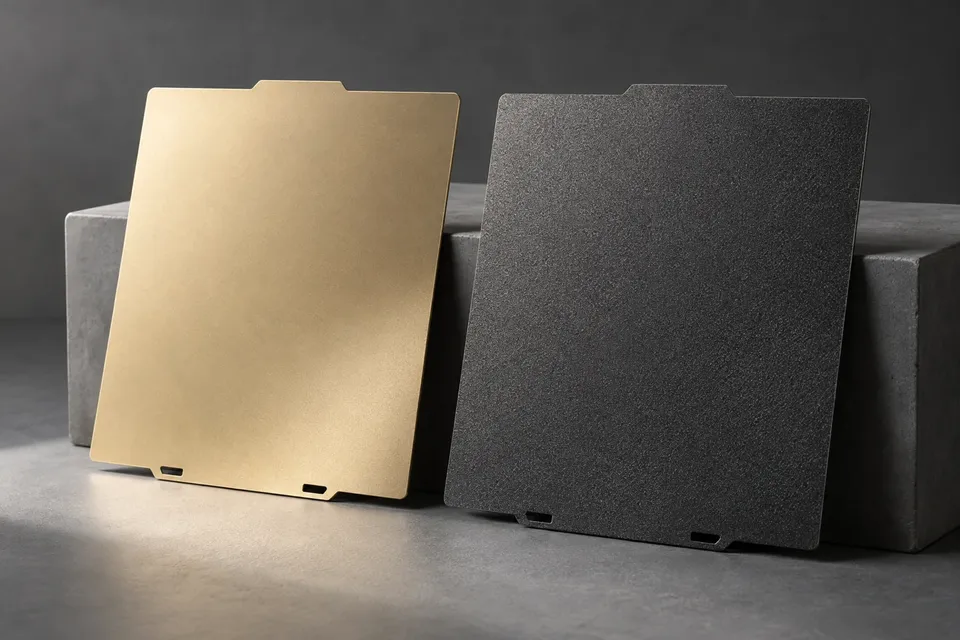
First identify the plate itself. A smooth PEI film, a powder-coated textured sheet and a rigid plate are not interchangeable. The word “PEI” alone does not tell you whether the plate can flex or whether PETG should have had a separation layer.
Find the sheet’s removal instructions
Check the model printed on the plate or listed in the printer’s accessories. If you cannot identify it, do not assume that a popular online trick applies. Find the plate maker’s instructions before using a solvent, a sharp tool or a heating cycle.
As a specific example, Prusa’s smooth-sheet guidance warns that PETG can adhere strongly enough to damage the PEI during removal and describes a thin protective separation layer for suitable material combinations. Its textured-sheet guidance describes a different surface intended for materials including PETG. Those are product-specific instructions, not a rule that every textured plate releases every PETG part the same way.
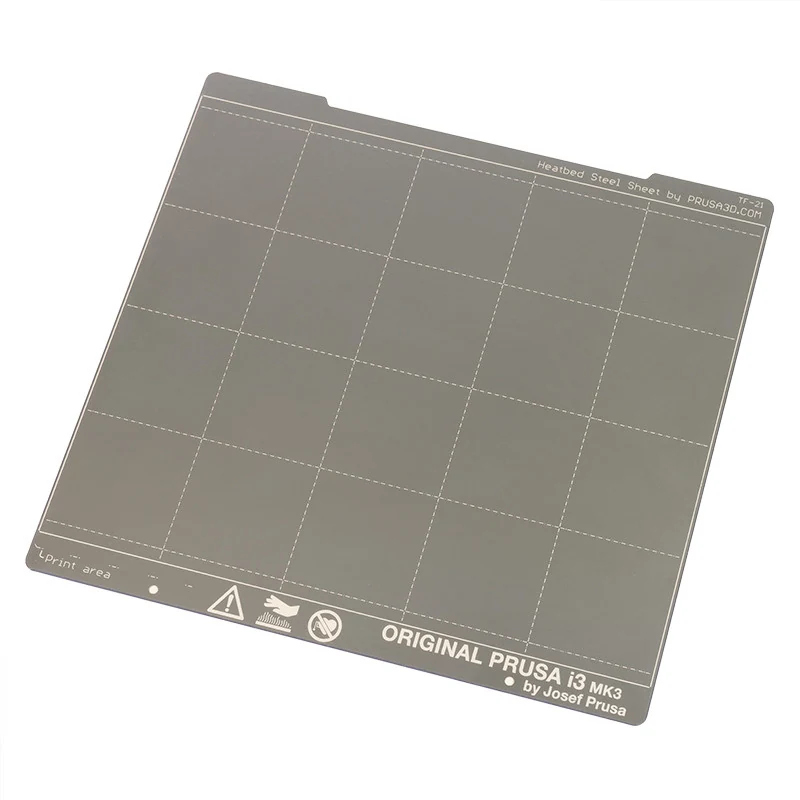
If the labels are confusing, the PEI surface comparison can help you identify the relevant type. Once identified, return to that particular plate’s care guidance.
Give cooling time to work
Let the completed job end normally and allow the plate to reach the removal condition specified by its maker. A warm part that resists a first attempt is not a good reason to pull harder. Keep your hands clear of hot and moving components while the printer finishes.
When removal is permitted, try the normal release method gently. Observe the edge of the part and the surface beneath it. The useful sign is an edge separating cleanly, rather than the print and coating rising together. Do not twist a tall wall as a lever; that puts force through the base while giving you little view of the interface.
Large, flat bases can leave little accessible edge. In that situation, patience and the correct sheet procedure matter more than an improvised tool. Do not put an unidentified plate in a refrigerator or copy a temperature recipe from a different coating.
Flex only a sheet designed for it
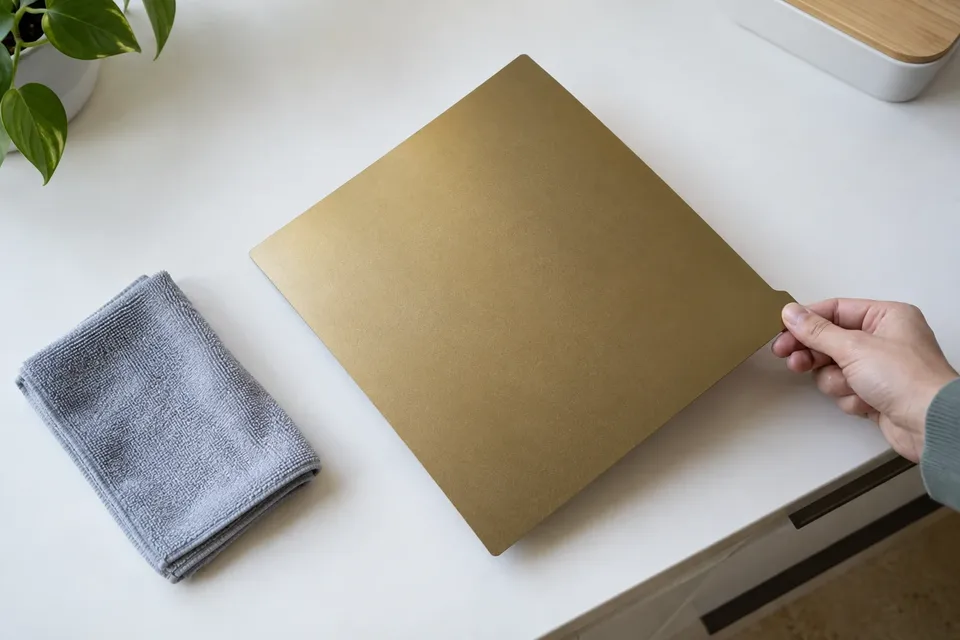
If your cooled plate is a removable flexible spring-steel sheet and its maker permits flexing, remove it as directed and support it by its edges. Apply a gentle, broad curve rather than making a sharp bend at the print’s corner. Watch whether an edge releases.
Keep the sheet’s shape elastic: no crease, folded corner or concentrated bend. If a modest permitted flex does not release the part, stop increasing the force. A rigid plate should not be bent merely because a flexible-sheet tutorial looks convenient.
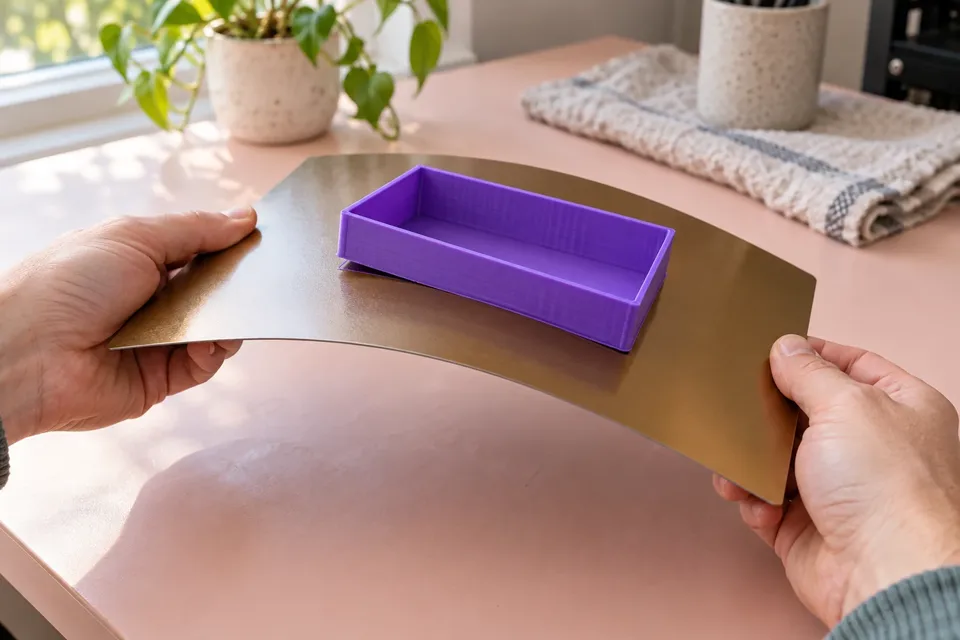
Use a removal tool only if your plate maker permits that tool and method. Avoid wedging a blade beneath a bonded corner and levering against the coating. When the only remaining idea is to pry harder, photograph the stuck interface and ask the sheet supplier for a recovery method suited to that exact product.
Inspect what remains after the part comes off
There are two separate questions: is material left on the surface, and has the surface itself changed? A thin patch of filament or separation product may call for normal cleaning. A torn area, lifted film or exposed substrate calls for a condition assessment before printing again.
Look under angled light and compare the area with the surrounding sheet. Do not scrape an unfamiliar patch simply to find out which it is. If you are unsure whether you see residue or damaged PEI, send the supplier a clear close-up along with the sheet model, filament and removal method used.
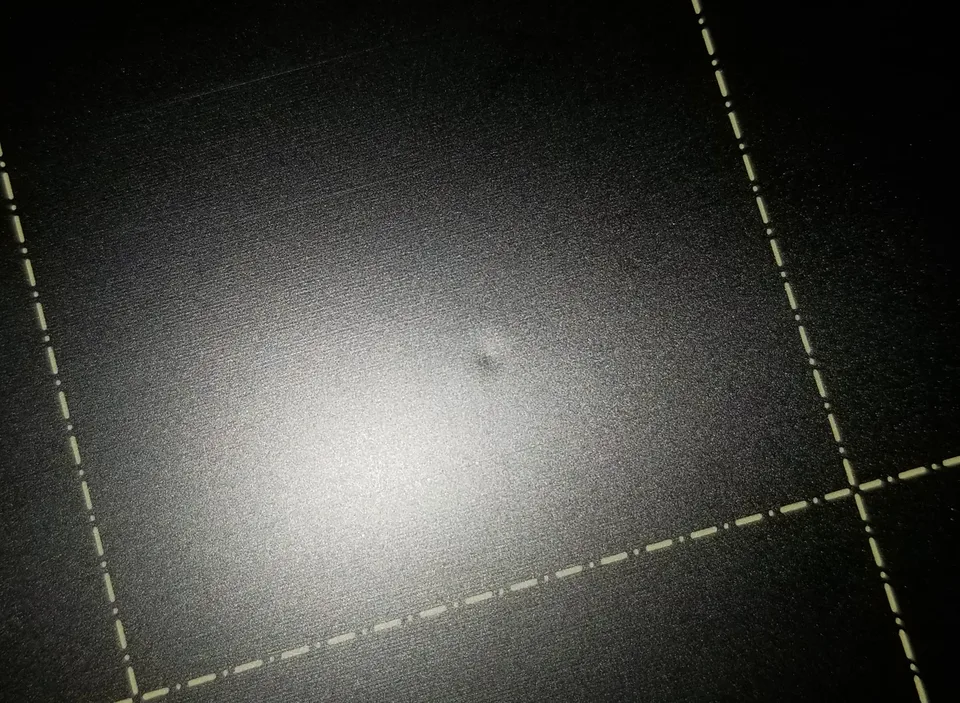
Permanent damage is not something to scrub away. Prusa’s smooth-sheet documentation includes an indentation example; it is useful as a reminder to inspect the actual surface, but a photograph cannot identify the cause of a mark on your own plate.
For ordinary residue on an intact sheet, follow its approved cleaning method. Our PEI cleaning guide separates routine cleaning from stronger treatments. A cleaner suitable for one sheet is not automatically suitable for another, and a solvent that removes grease is not necessarily a PETG-release method.
Prepare the next PETG print for release
Once the surface is confirmed usable, check the recommended material-and-plate combination. Where the sheet maker calls for a separation layer, apply the specified product thinly and evenly before printing. Here the layer provides an interface that helps protect the sheet; treating glue only as an adhesion booster misses that purpose.
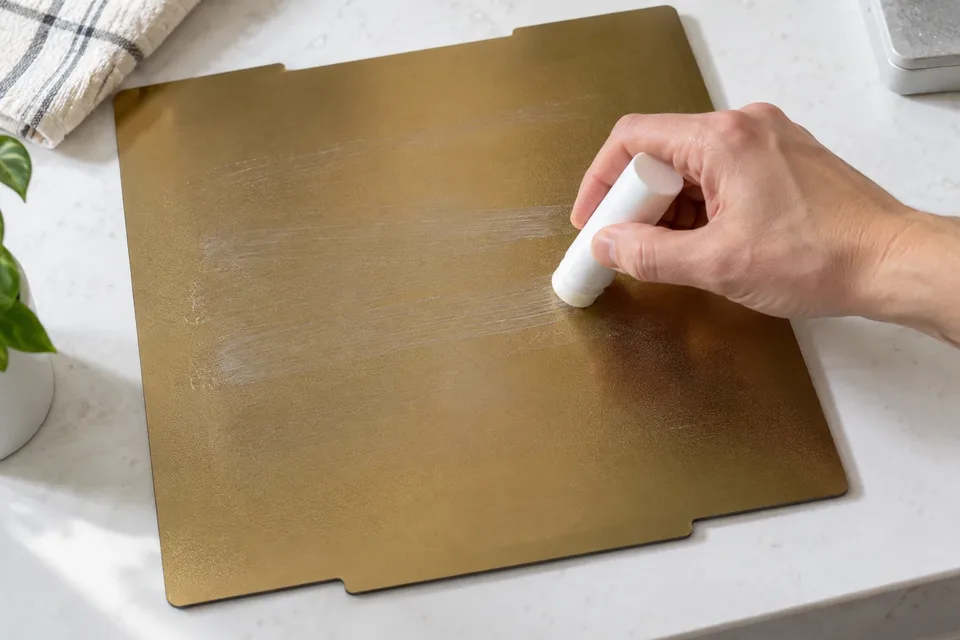
Do not try to push a separation layer under a part that is already bonded to the plate. It belongs in the preparation for the next print. Likewise, a thick uneven coating can introduce a different first-layer problem, so follow the product directions rather than building up several unrelated products.
Review the first-layer configuration for that sheet and PETG profile. Excessive compression is not a useful goal just because the previous PLA print needed more contact. If you change sheet type, carry out the calibration or plate-selection steps required by the printer.
Try a smaller part before returning to the large base that caused trouble. Observe both stages: it must stay down during printing and come away by the normal permitted method afterward. Keep a note of the sheet, material profile and separation product that produced that result.
If release remains difficult with the documented setup, choose a manufacturer-supported surface for that PETG or ask for further guidance. Preserving the sheet is more useful than rescuing one part through force and repeating the same removal problem on the next job.
Our standard: Clear sources, practical limits, and no invented test results. Read our editorial policy.
PrintTuned Editorial
Source-based guides to filament drying, storage and spool fit, with clear measurements, documented assumptions and practical limits.