Printing TPU on PEI: Plate Choice and Clean Release
Choose a PEI surface for your exact TPU, use any required separation layer and check a small part before printing a broad flexible base.

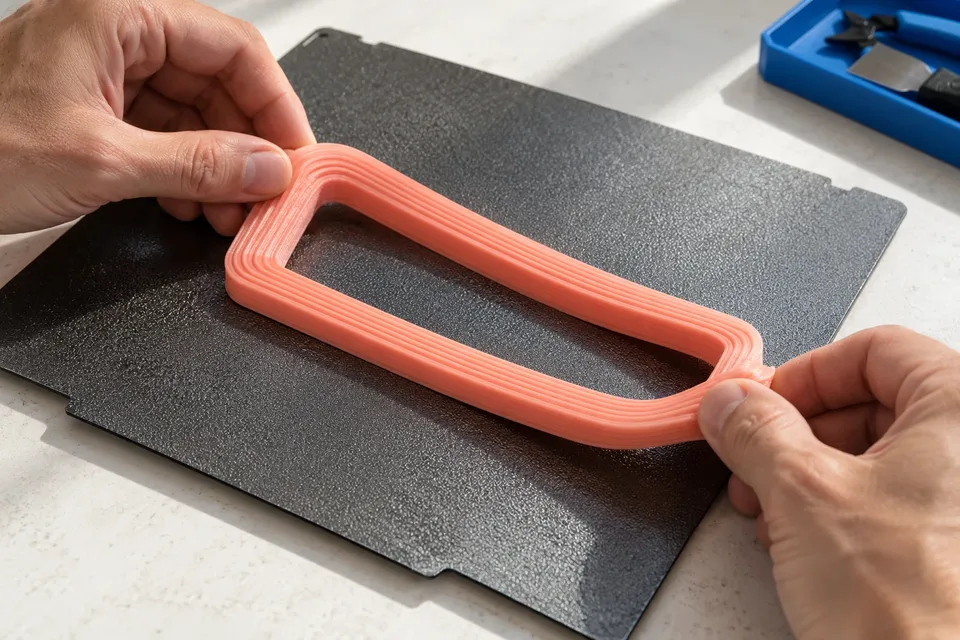
TPU can stick to PEI so firmly that getting a flexible part off becomes harder than printing it. Choose the sheet and any release layer together, before covering a large area with a gasket, shoe insert or protective sleeve. A successful first layer needs to stay down during printing and separate afterwards without taking the coating with it.
There is no single “TPU on PEI” preparation that fits every product. The filament formulation and the exact plate both matter. Start with their published pairing, then check it on a small part with the same contact geometry as the finished object.
Choose the material-and-sheet pairing first
The TPU label covers products with different hardnesses and printing requirements. A recommendation for one manufacturer's 95A filament is not automatically a recommendation for a softer formulation, a filled blend or another brand's coating. Record the filament's full name and the plate's product name before borrowing settings from a forum photograph.
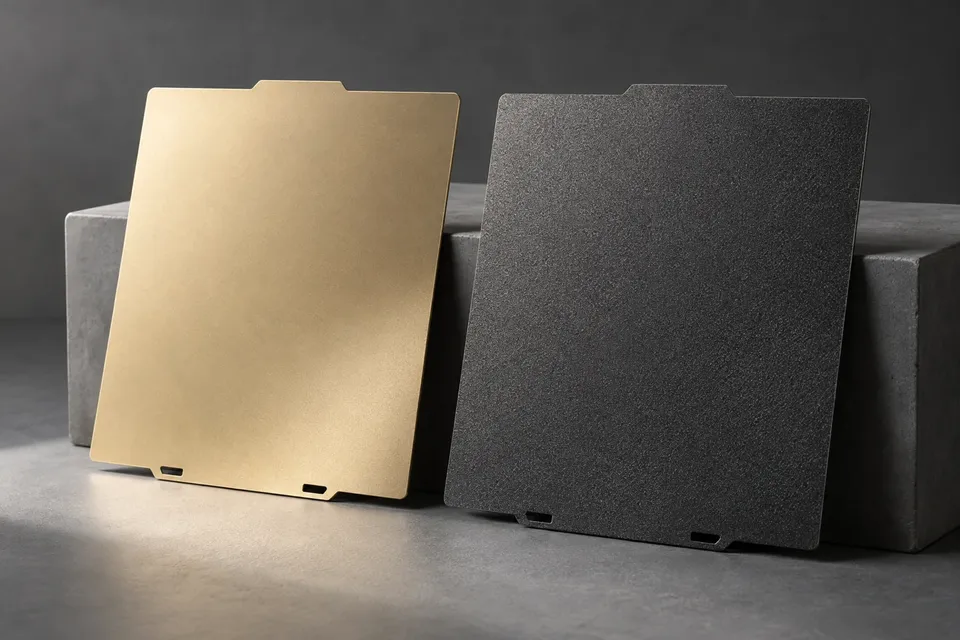
For a concrete example, the Prusament TPU 95A material guide recommends satin or the dedicated PP sheet and advises against smooth PEI; using smooth PEI requires a separation layer. That is a useful reason to choose another supported surface when one is already available. It is not a rule that every flexible filament requires a new plate.
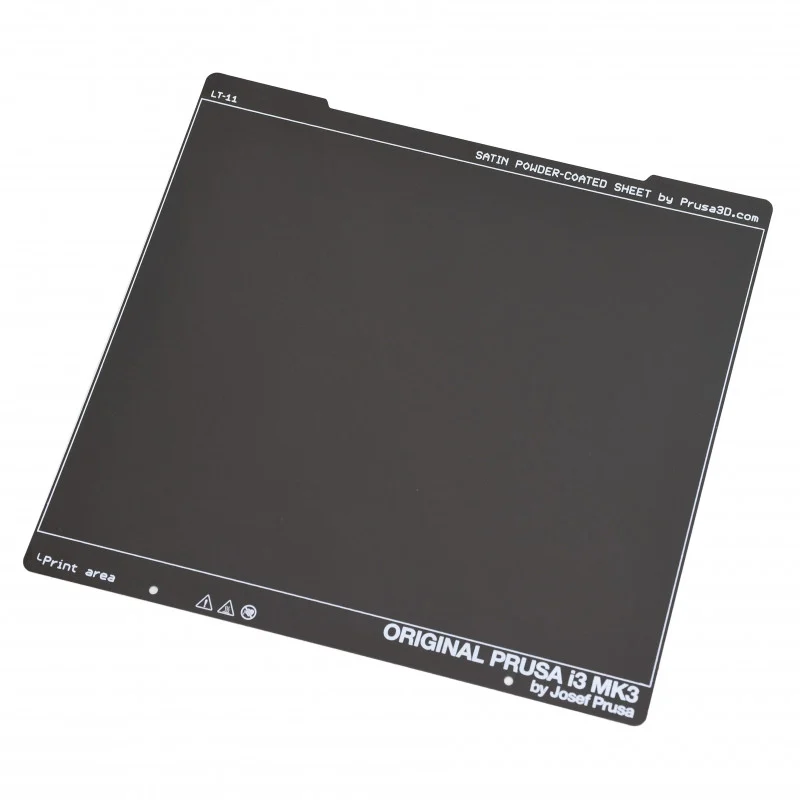
By comparison, Bambu Lab's current Textured PEI Plate chart lists TPU 85A/90A and TPU 95A for AMS without a required glue stick. Read those product rows as written. They do not establish that every TPU can be printed glue-free on every textured sheet.
What the three PEI finishes change
Satin: check the supported pairing, then judge the contact face
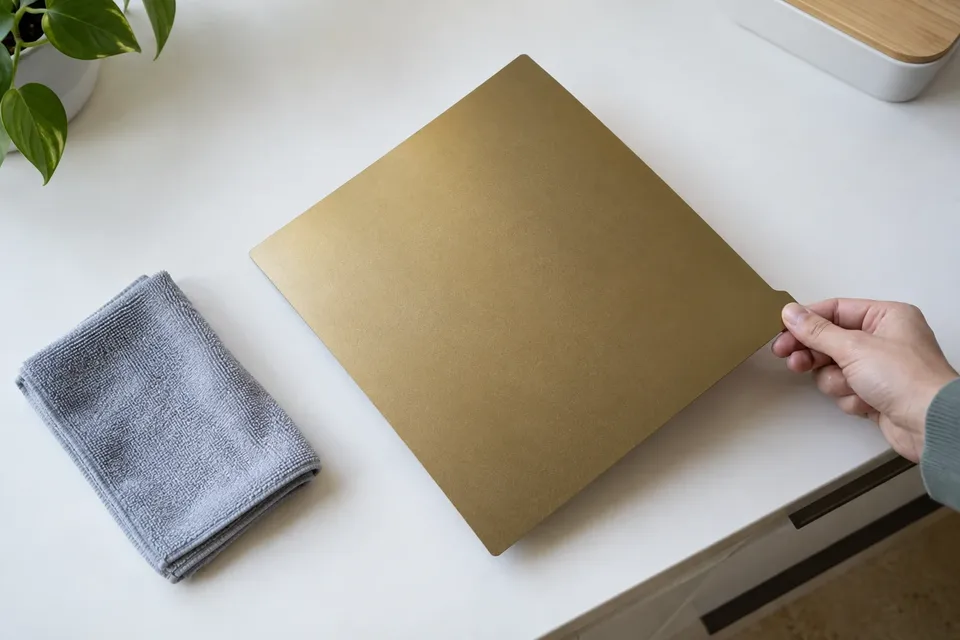
A satin sheet can offer a finer underside texture than a coarse powder coating. Where the filament maker recommends it, that makes it a practical candidate for a flexible enclosure cover or a visible pad. The finish affects the face touching the plate; it will not erase lines on the sides of the object.
Use the preparation specified for the sheet. A supported satin pairing does not justify transferring an acetone-cleaning habit from a different surface. The broader smooth, textured and satin PEI comparison helps connect finish choices to the shape of the part.
Smooth: strong contact needs a planned release
A smooth underside may look attractive on a flexible cover, but appearance is a poor reason to ignore a separation-layer requirement. A broad, flat TPU base can leave very little exposed edge to begin removal. Decide how that contact face will detach before printing the full footprint.
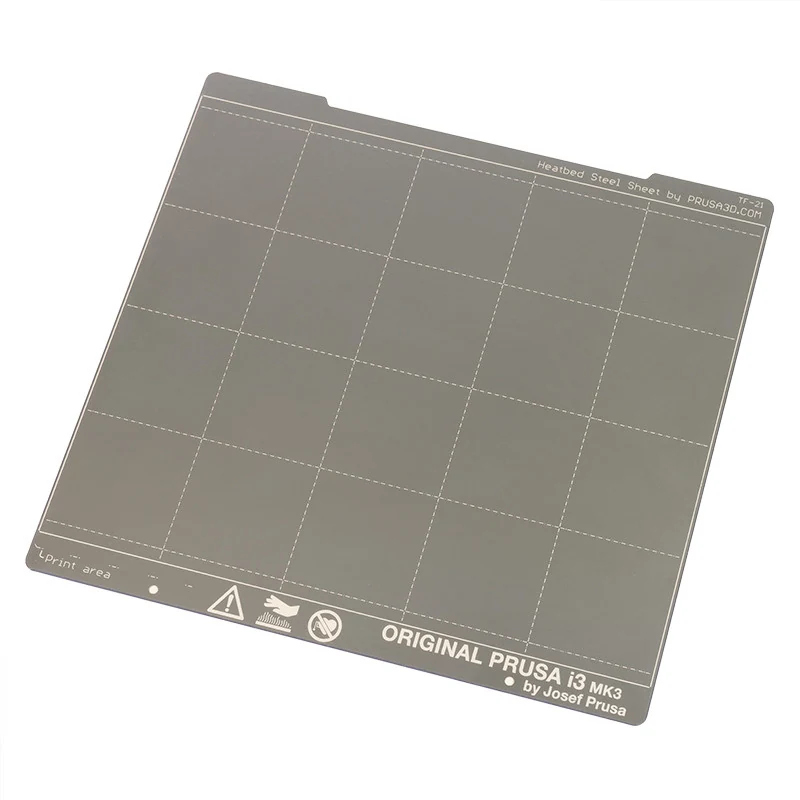
If the documented pairing permits smooth PEI with a barrier, use the specified product and application method. Avoid adding an improvised solvent or lubricant because it happens to be nearby. Changing to a supported surface is often easier than rescuing a large part from an unsuitable one.
Textured: grip and release still need checking
Texture changes the underside and the way a flexible print sits against the surface. It does not guarantee easy release. Look for the exact material entry in the plate's instructions, including any distinction between TPU grades. If neither manufacturer covers the combination, choose a documented pairing rather than assuming that a rougher plate is safer.
Use a separation layer for its intended job
Glue can act as an interface between the coating and the part. In a combination that bonds too strongly, the purpose is to provide separation. More adhesive is not necessarily more protection: a thick, uneven layer also changes the surface against which the first layer forms.
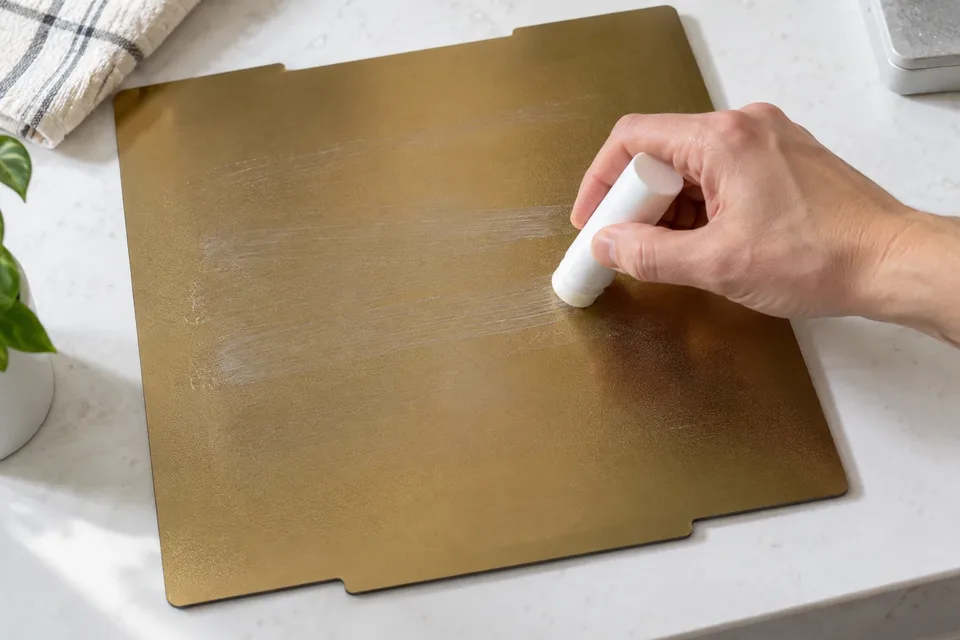
Apply the approved release product evenly over the intended footprint, following its instructions. Keep lumps and old residue out of the test area. If preparation includes washing away a previous layer, use the cleaning method for that specific PEI sheet, then dry it fully before starting again.
Do not change the release product, first-layer height and bed temperature all at once. If a part releases differently, several simultaneous changes make the cause difficult to identify. Keep a note of the pairing and preparation that produced a usable result.
Make the first print representative
Choose a short section of the actual base or another small model that preserves its important features. For a gasket, include the narrow wall and a corner; for a sleeve, keep a sample of the broad contact band. A solid square may stick well while telling you little about either of those shapes.
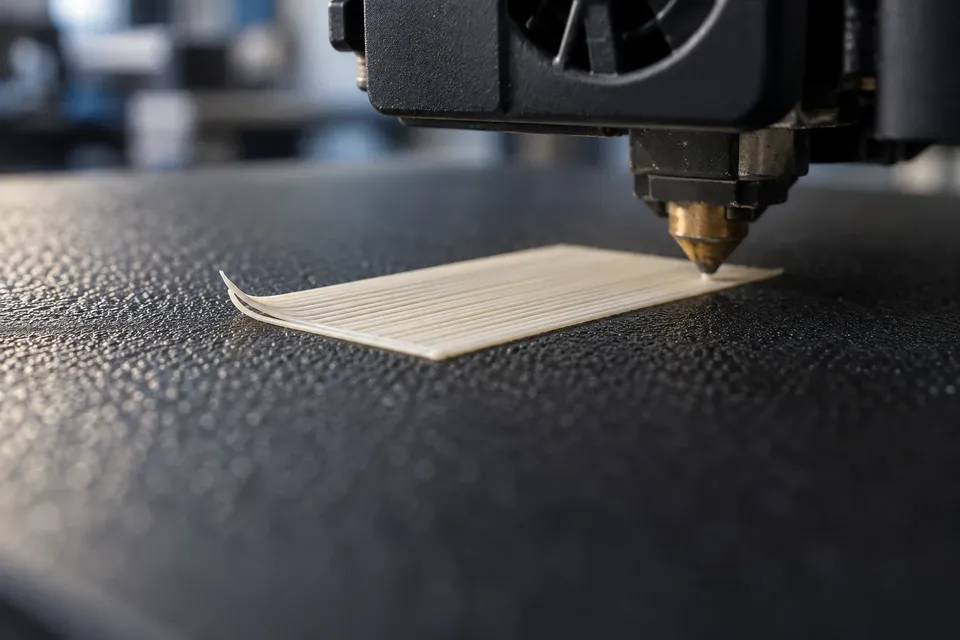
Use the filament's supported printer profile and the correct plate selection. Inspect whether the first layer forms a continuous base without deliberately pressing the nozzle closer to create extra grip. If the lines are already joining correctly, additional squish can make release harder without improving the feature you need.
Assess the result after removal, too. Look at the contact face, thin edges and any sealing or mating surface. A rough imprint may be acceptable under a protective foot but unwelcome where a flat gasket has to sit against another component. Check that actual interface rather than judging only a photograph of the top of the print.
Let the sheet and the part separate gradually
Allow the plate to cool according to its instructions. On a removable flexible sheet, use the permitted gentle flex to start release; keep the part supported so a thin wall is not stretched as a handle. Work from an accessible edge instead of pulling one tall corner while the rest of the base remains bonded.
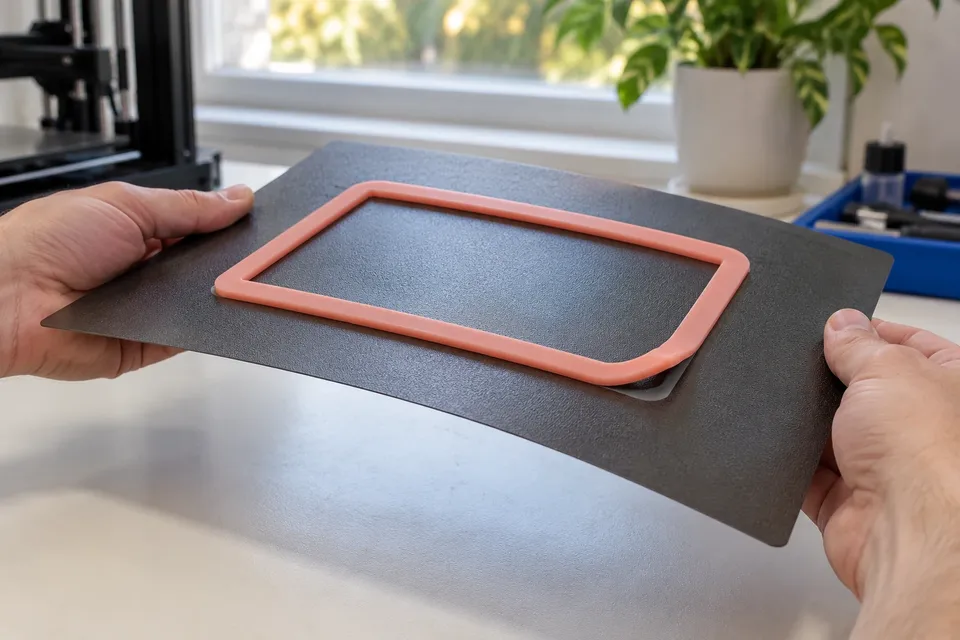
Stop if the coating lifts or the part stretches substantially before the interface opens. Forcing the same motion harder is unlikely to improve the outcome. Recheck the surface and release-layer instructions before attempting another method.
The finished contact face should suit the job as well as survive removal. Keep the small sample beside the mating component, feel the texture where the part will be handled, and check whether its thin features have kept their shape. Those observations make the next plate choice more useful than choosing the surface with the strongest initial grip.
Our standard: Clear sources, practical limits, and no invented test results. Read our editorial policy.
Daniel Foster
Daniel covers filament selection, drying, storage, material compatibility, print temperatures, and the practical tradeoffs between common 3D printing materials.