Drying PETG Filament: Temperature, Time and Spool Limits
Match PETG drying temperature and time to the exact product, check old and new spool limits, and prepare the dryer and storage routine.

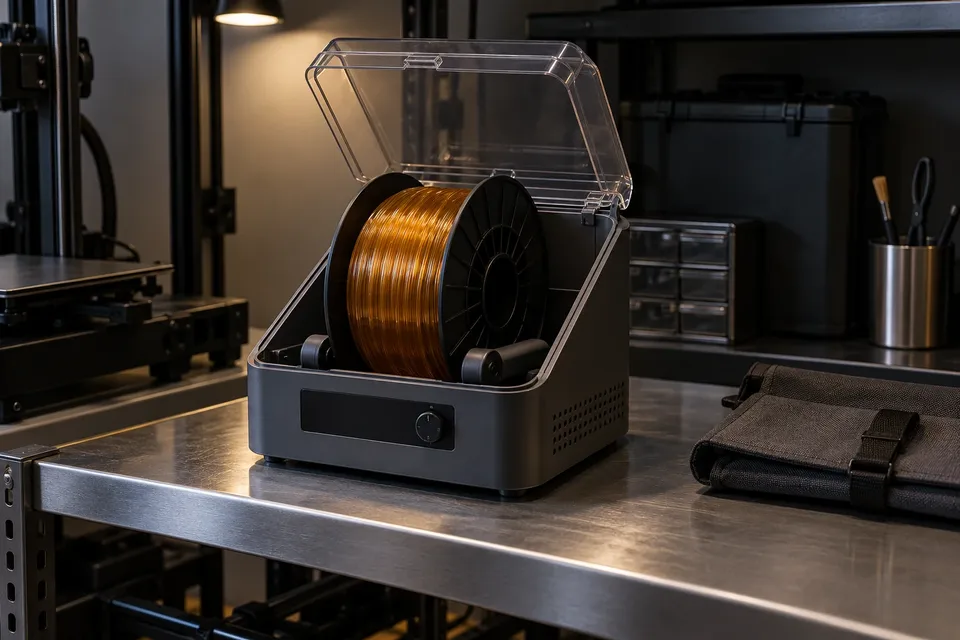
The drying temperature on a PETG label is only half of the setup. The spool also has to tolerate that temperature, and the dryer has to provide the conditions assumed by the recommendation. Check those three things together before starting a cycle.
Use the drying schedule for the exact PETG product, then verify the reel and the equipment. Different brands publish different temperatures and durations. Choosing the hottest number from several labels is not a shortcut to a better result.
Read the product name before choosing a temperature
PETG, PETG-HF and other modified formulations should not be treated as interchangeable drying presets. Find the material label or order record, then open the manufacturer's current drying instructions. Keep the stated equipment type with the number; a hot-air oven recommendation should not be relabelled as a heated-bed recipe.
| Material | Published drying guidance | Scope to keep with it |
|---|---|---|
| Prusament PETG | 55°C for 6 hours | Prusa's Prusament drying table; check the spool generation separately. |
| Polymaker PETG | 60°C for 6 hours | The current product page specifies drying when the material has absorbed moisture. |
| Bambu PETG HF | 65°C for 8 hours | The published blast-drying-oven conditions, not a generic setting for every PETG or dryer. |
Sources: Prusa's drying guide, Polymaker PETG and Bambu PETG HF. Follow a newer instruction for your specific product if its packaging or support documentation has changed.
The different durations do not rank the materials or prove that one dryer is faster. They belong to separate product instructions. For an unidentified reel, establish what it contains before committing it to an unattended cycle.
The filament and its spool have separate limits
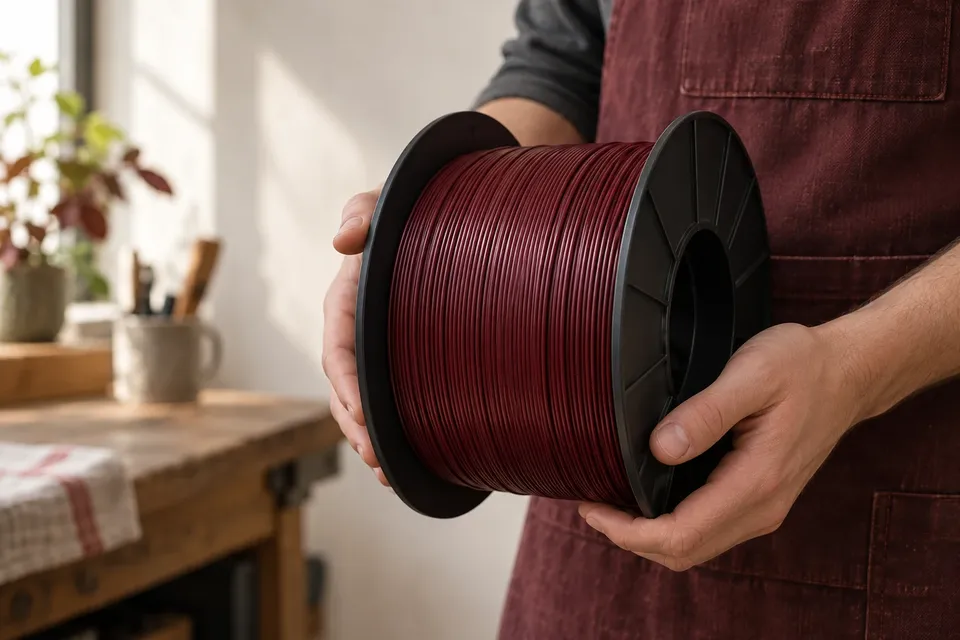
A reel can become the limiting component even when the filament's drying instructions are clear. Check the spool's construction, temperature rating and any required preparation. Include an adapter or printed accessory in that check if it will remain inside the dryer.
Prusament illustrates why the manufacturing generation matters. Prusa describes a spool redesign from October 2025, with different limits from earlier constructions. Its older black-centre spools need the specified fastening arrangement for drying above 45°C. Do not identify a spool's heat tolerance from its colour alone or apply an older-spool modification to a new design without checking the guide.
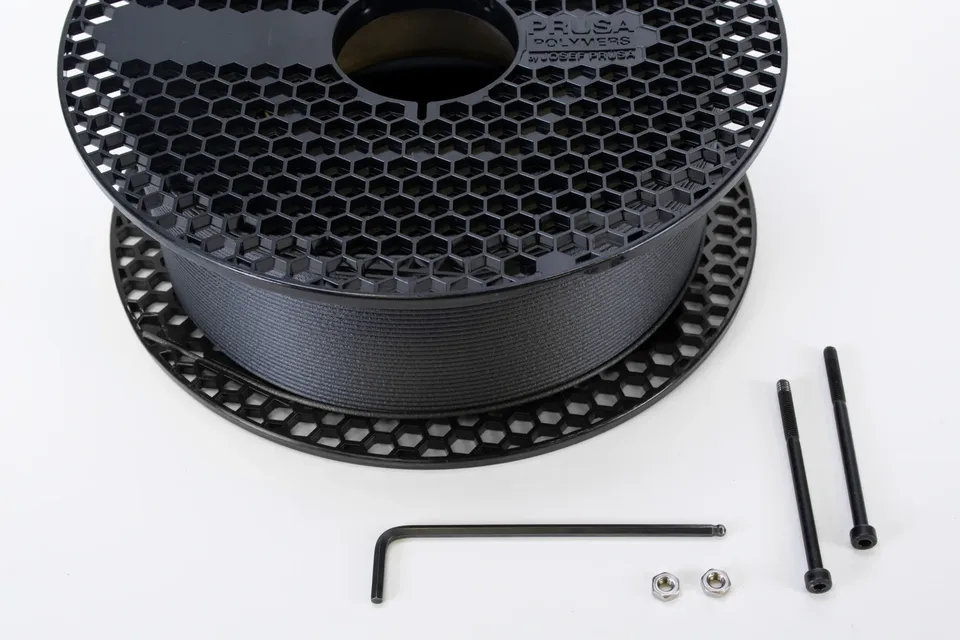
If your reel matches the older construction, use Prusa's exact fastening instructions and leave the fasteners in place as directed until the material is used. The photographs show that older design. They are useful for identifying the relevant procedure, rather than evidence that every Prusament spool needs the same treatment.
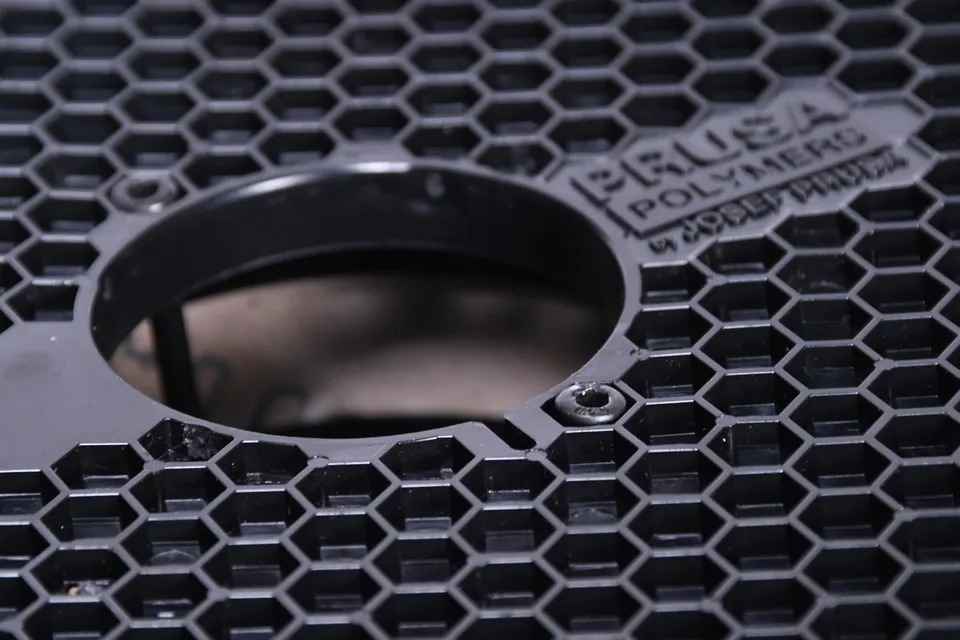
For another brand, look for that spool's own specification. A reusable reel, a cardboard reel and a home-printed replacement can each impose different constraints. If the supported spool limit is below the material's required drying temperature, resolve the conflict before heating; an arbitrary lower temperature and the original duration are not an equivalent recipe.
Make sure the dryer can run the intended cycle
Confirm the dryer's supported temperature range, timer behaviour and instructions for ventilation or moisture exhaust. A display showing a setpoint does not establish that every part of the reel has reached that temperature. Use the manufacturer's loading arrangement and avoid blocking the airflow path.
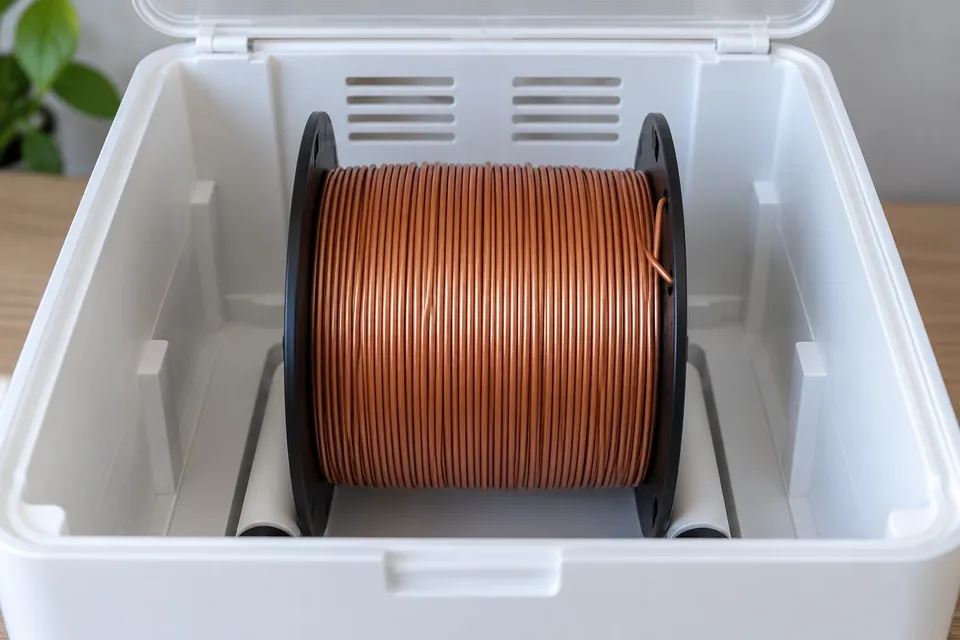
Check clearance around the reel, the lid and any internal outlet before closing the unit. A spool that fits only when pressed against a heating area is a poor match. Measure the actual reel when necessary; nominal filament weight does not describe its outside dimensions.
When choosing equipment, the drying-setup planning guide helps connect spool fit, temperature requirements and the way you will use the material afterwards. A desiccant storage box has a different job; the drying-versus-storage explanation separates active treatment from keeping moisture out.
Use equipment intended and documented for filament drying. A household cooking oven is a poor substitute for a controlled filament setup, particularly when its temperature behaviour and the reel's tolerance are unknown. A heated printer bed also needs a specific supported procedure; it does not inherit a dryer's timer and ventilation conditions.
Run one documented cycle before changing the recipe
Load the reel as the dryer directs and set the product's supported temperature and duration. Check whether the equipment counts time from switch-on or after warm-up. Follow that distinction rather than assuming that every “six-hour cycle” contains the same amount of time at temperature.
Keep the starting condition simple enough to interpret. Record the material, spool type, setpoint and cycle length. If the dryer requires a vent position, record that too. This is useful when comparing the next print with an earlier one; it avoids trying to remember which setting was changed halfway through.
Do not repeatedly raise the temperature to chase a single symptom. Stringing, rough surfaces and poor extrusion can have causes beyond moisture, including profile, nozzle and feeding problems. After a supported drying cycle, print a familiar small part with the same profile and compare the feature that prompted drying. If it has not improved, investigate the other variables instead of assuming the reel needs ever more heat.
Likewise, a dryer's humidity display is not a direct measurement of moisture inside the filament. Use it within the equipment's instructions, not as proof that an arbitrary threshold has completed the material manufacturer's cycle.
Protect the reel after the timer ends
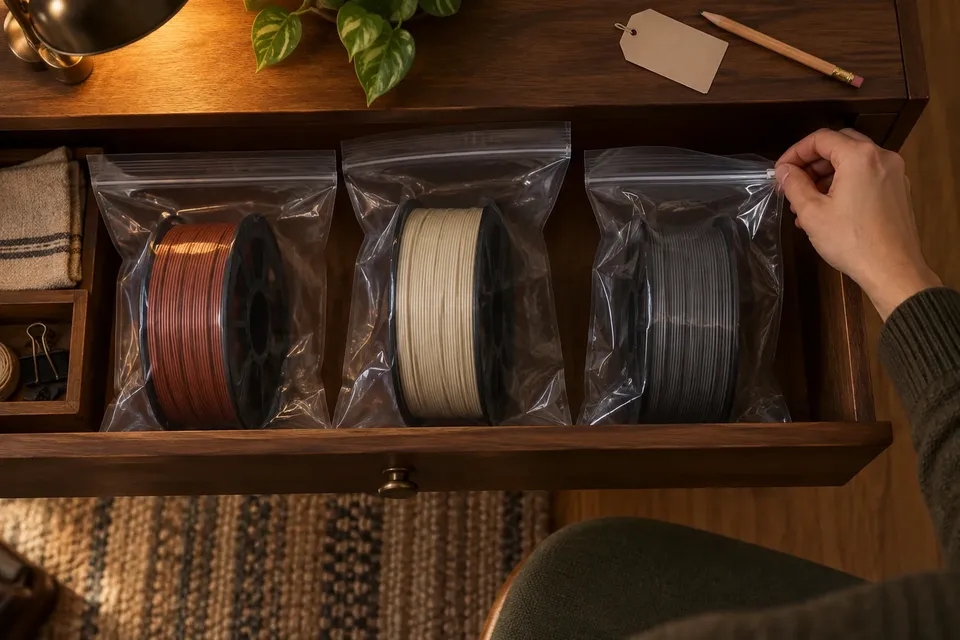
Follow the dryer's instructions for cooling and handling, then move the reel into an appropriate closed storage setup when it will not be used. Keep the filament end secured during the transfer. Leaving a treated spool exposed on a humid workbench adds another uncontrolled interval before the print.
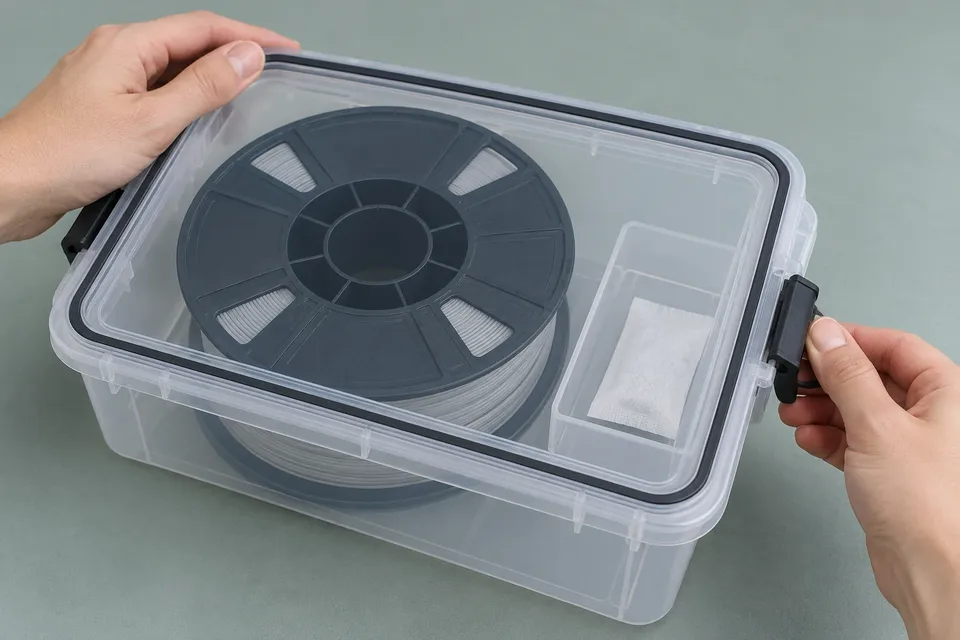
The storage checklist covers the container, seal and desiccant side of that routine. If printing directly from an enclosure, also confirm that the spool can turn and the feed path remains clear; a useful storage arrangement can still introduce mechanical resistance.
Leave a short note with the reel: exact product, completed drying cycle and storage location. The next decision is then tied to the material you actually own, rather than a generic PETG number copied from another spool.
Our standard: Clear sources, practical limits, and no invented test results. Read our editorial policy.
Daniel Foster
Daniel covers filament selection, drying, storage, material compatibility, print temperatures, and the practical tradeoffs between common 3D printing materials.